Table of Contents
Summary
This support document will show you how to add, edit, and remove a doctor's information to the software.
First, click "Setup," located at the top left corner, and select "Doctor Information."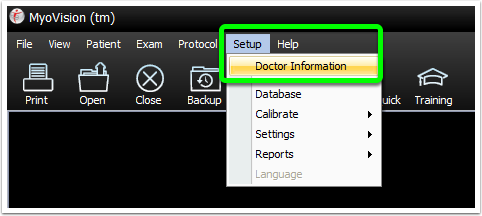
Add a New Doctor
- First, click "Setup," located at the top left corner, and select "Doctor Information."

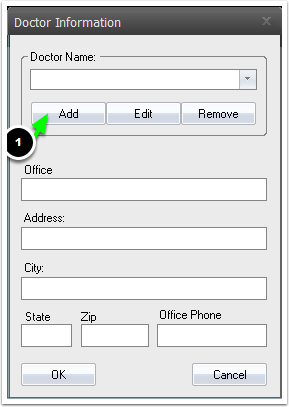
- Click the "Add" button.
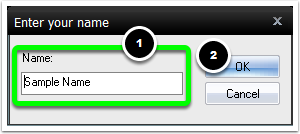
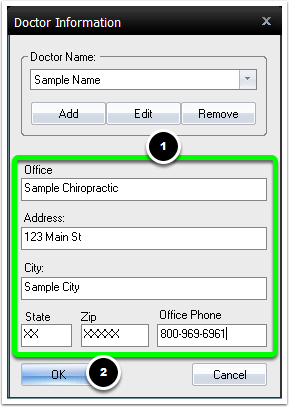
- Enter the name of the doctor in the "Name" text box and click OK.
- The last step is to enter the information for the office. When you're done, click the OK button to save your changes.


The next section of this guide will show you how to edit the information for a doctor that has already been added to the software.
Edit an Existing Doctor
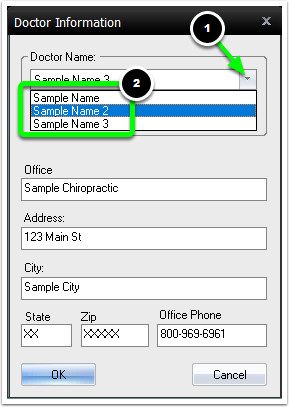
- First, click "Setup," located at the top left corner, and select "Doctor Information."
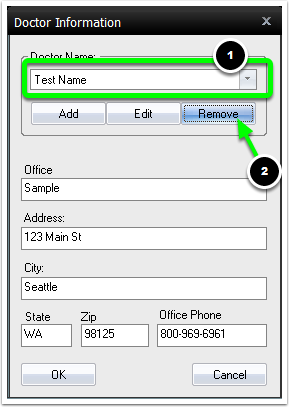
- Click on the drop-down menu and select the doctor whose information you would like to edit.
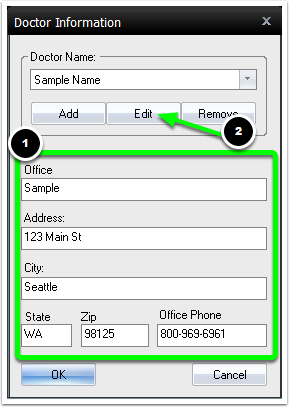
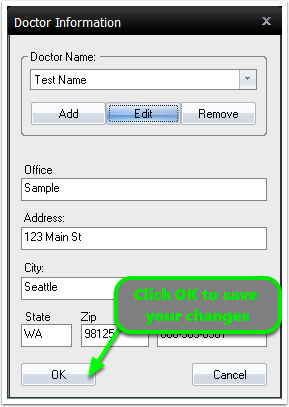
- Now you can edit and make any changes to the Office Information. To edit or change the name of the doctor click the "Edit" button.
- Now you can edit or change the name of the doctor. When you're done making edits and changes. Click the "OK" button.
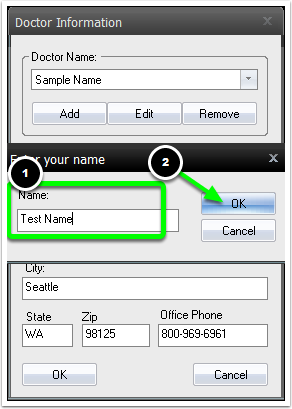
- Click the "OK" button again to save your changes to the doctor information.


The next section of this guide will explain how to remove a doctor from the doctor information list.
Remove a Doctor
- First, click "Setup," located at the top left corner, and select "Doctor Information."
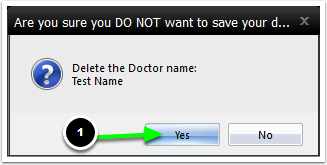
- Select the doctor you would like to delete from the drop-down menu. Then click the "Remove" button.
- A window will open asking if you are sure you want to remove this doctor's information. Click the "Yes" button to remove the doctor's information.