In the MyoVision software, you can create specialized protocols that can be quicker, more thorough, or focused on specific regions of the body. You can create specialized protocols for static sEMG, dynamic sEMG, thermography, range of motion, or a combination of all four.
If you haven't downloaded the most recent version of the MyoVision software, you are missing out on features that will let you grow your business and improve patient education. The most recent versions of MyoVision include graphics upgrades that let you better show your patients their DynaROM results and let you e-mail your exams directly to your patients through the Escan feature.
MyoVision updates also include fixes on common SQL Errors and other minor issues. If you're getting an SQL Error, make sure to update your software version.
If you aren't sure if you are running the latest version head over to our Download Page to download the newest version for a free 30-Day Trial. After 30 days, if you have a Registration Key active the software will deactivate features that are included with your Registration Key. If you want to keep access to the newest features head over to our Store Page to purchase your Annual Software Subscription and get access to all the features already released, plus access to features that come out over the next year.
We recommend that you test every self-generated protocol before implementing it.
How To Start
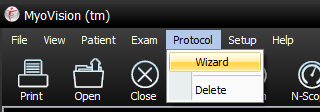
- In the MyoVision software, open the Protocol menu and select Wizard
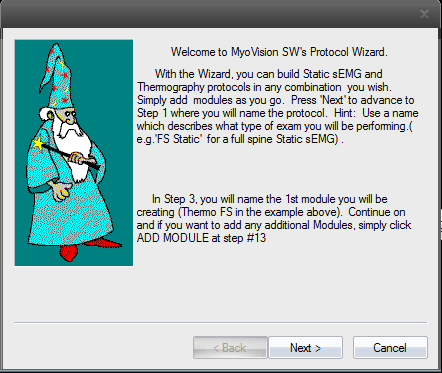
- Read the first box for a deeper understanding of setting up protocols. Click Next when you are ready to proceed.
- Enter in a name for your New Exam Protocol
Click Next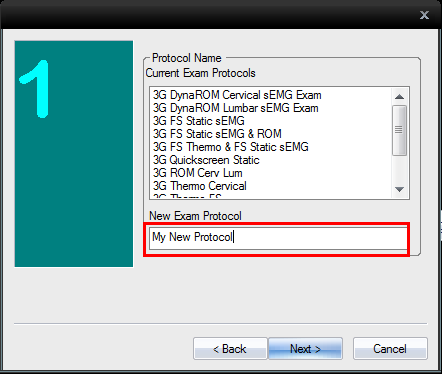 On the next screen you will be prompted to select which type of "Exam Motion" you would like to do first.


 On the next screen you will be prompted to select which type of "Exam Motion" you would like to do first.
Click the corresponding motion in the tabbed menu below to see how to setup that motion in the Protocol Wizard.
**IMPORTANT: If you want Thermography as part of your protocol, it must be the first Exam Motion.
Static Module
Follow the instructions below to add a Static Motion to your protocol.
- To add Static sEMG as part of your protocol, select Static and then click Next.

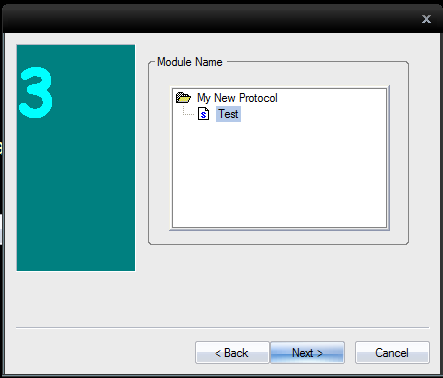
- You will need to name the module. It helps to give the module a name that describes the motion. For the example protocol the name is "test".

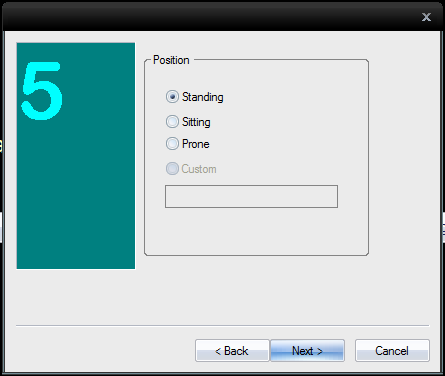
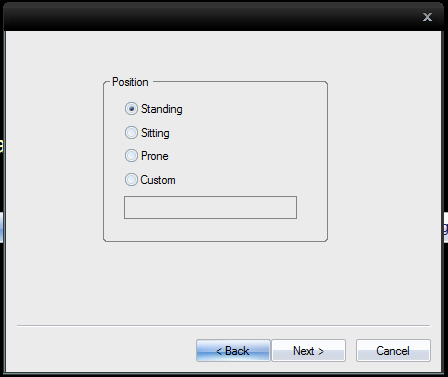
- Choose the position that the patient will be in, then click Next.
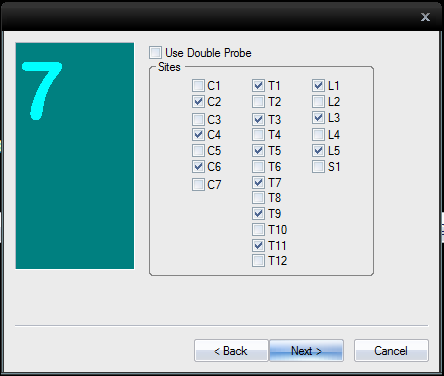
- Select the sites you want test, then click Next.
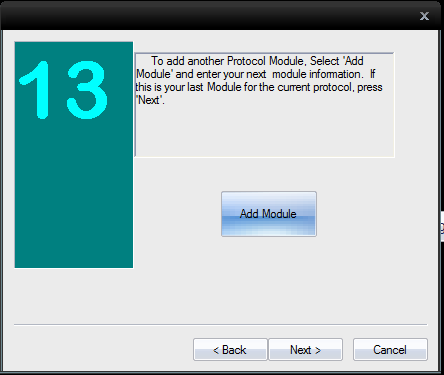
- Click the Add Module button if you want to add another type of Exam Motion or click Next > to finish building your protocol.


Dynamic Module
This portion of the guide will go over adding the Dynamic Module to your custom protocol.
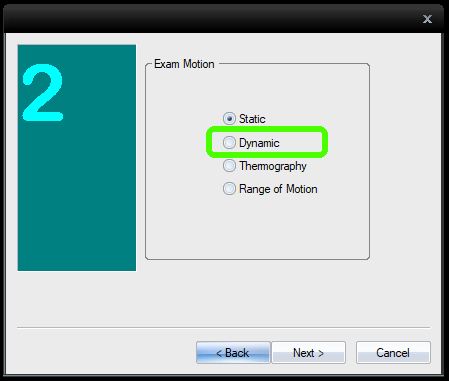
- To add the Dynamic Exam Motion select Dynamic from the list. Then click Next.
- You will need to name the module. It helps to give the module a name that describes the motion. For the example protocol the name is "test".
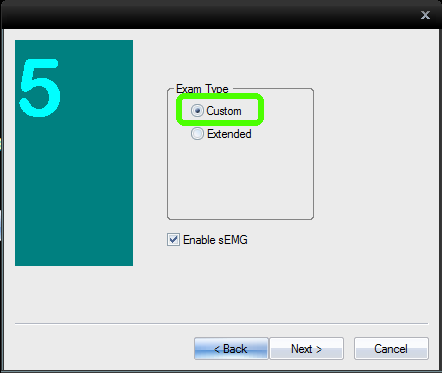
- On the next screen you will want to choose Custom.
- Choose the position that the patient will be in during the exam.
- Select the number of channels that you'll be using during the exam.

- Set the X and Y scale for your exam.

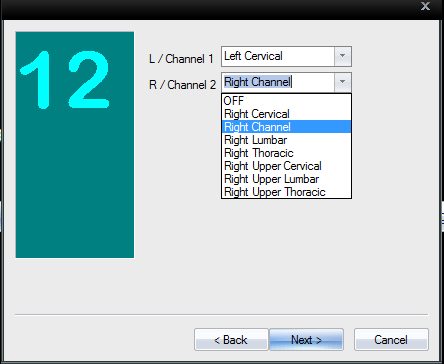
- Select which muscle group each channel will be focused on.
- Click the Add Module button if you want to add another type of Exam Motion or click Next > to finish building your protocol.


Thermography Module
If you want to add Thermography to your custom protocol make sure that it's the first Exam Motion that you select.
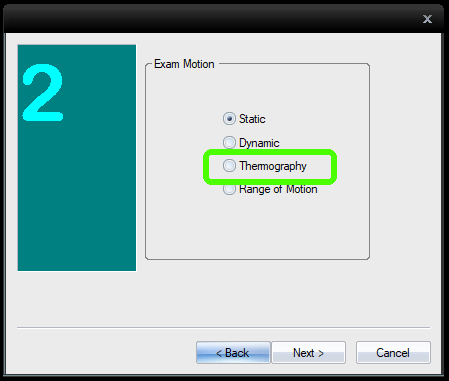
- To add Thermography as part of your protocol, select Thermography and then click Next.
- You will need to name the module. It helps to give the module a name that describes the motion. For the example protocol the name is "test".
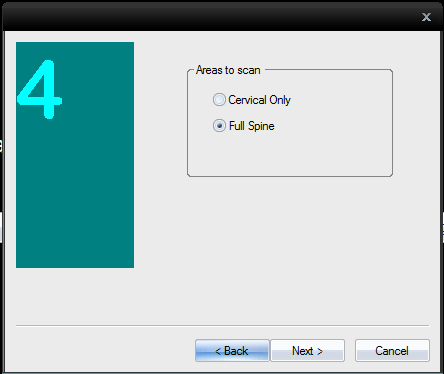
- Select whether you want to just scan the Cervical or the Full Spine.
- Click the Add Modules button to add another module to your custom protocol, or click Next to continue.


Range of Motion Module
This portion of the guide will go over adding the Dynamic Module to your custom protocol.
- To add the Range of Motion Exam Motion select Range of Motion from the list. Then click Next.
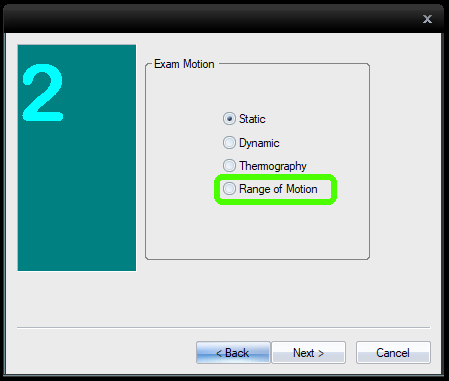
- You need to name the module. It helps to give it a name that is descriptive of the motion. We use "test" here
- Click the Add Module button if you want to add another type of Exam Motion or click Next > to finish building your protocol.


Finalize
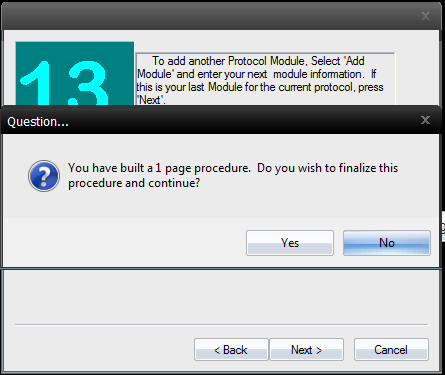
If you clicked Next instead of adding modules, you will be asked if you want to finalize the procedure.
Click Yes
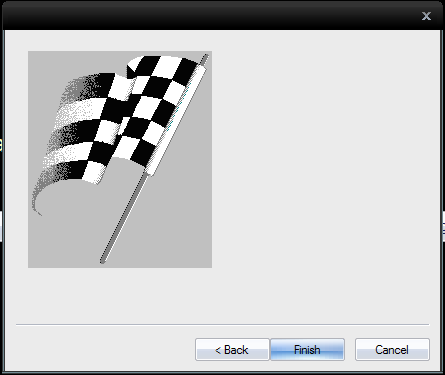
- Click Next on this section
- Click Finish


Once you have finished creating your protocol, verify that ii is listed with your other protocols when you go to start an exam.
You should see the Protocol appear after entering in patient information.
