Summary
This document will instruct you on setting up wired Thermography devices
Before you Begin
- Make sure you have the latest version of the MyoVision software. Download here: https://www.myovision.com/download
How to Set Up Your Thermography Device
1. Check the Device Preferences
- Go to Setup > Devices > Preferences
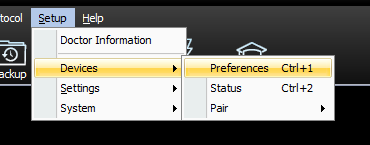
- Select Thermography on the left side and choose your device type from the drop-down menu

2. Check Your Calibration Values
- For instructions to check your calibration values, Click Here
- If you do not have your calibration values, call MyoVision technical support at 1-800-969-6961 opt 2
Skip to step 6 if you have a C-5000
3. Check Cabling
- At the back of the VisionPort2 Device check to make sure that the USB cable is connected. Also check that the same USB cable is also plugged into a working USB Port on your computer.

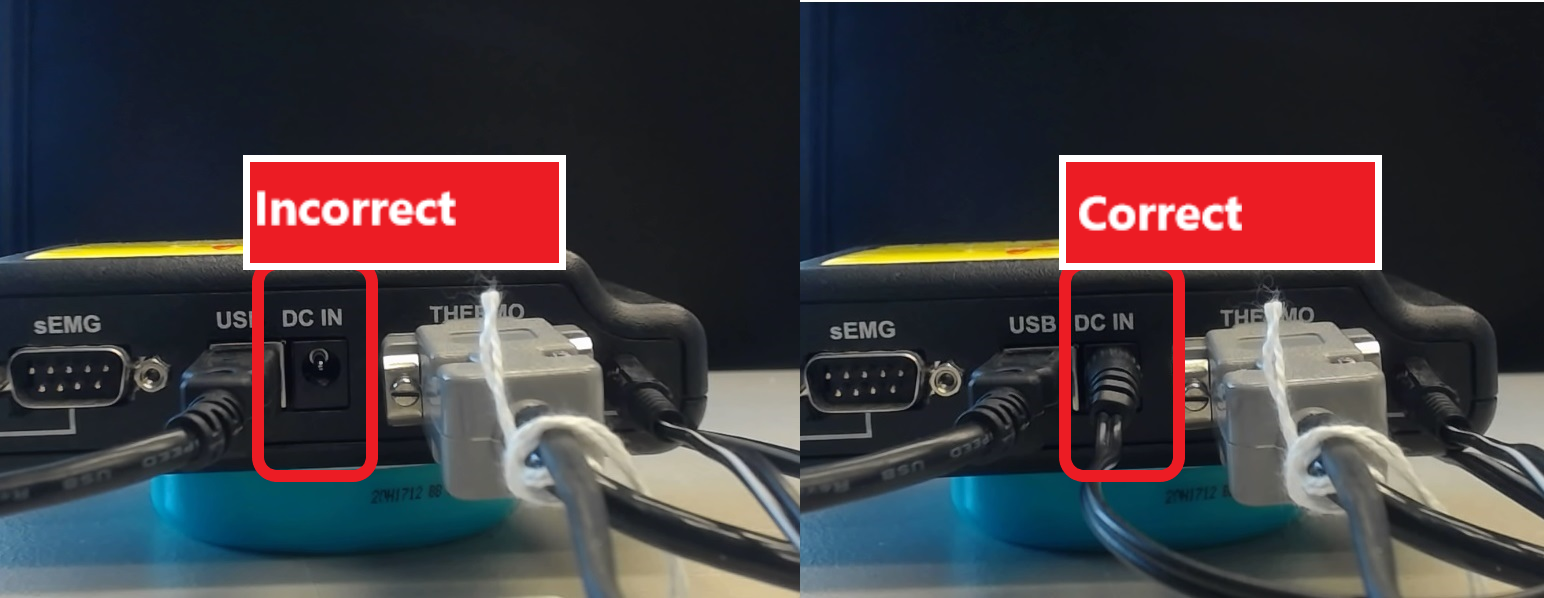
- Make sure that the DC IN cable is connected and that the AC adapter is plugged into a working electrical outlet.
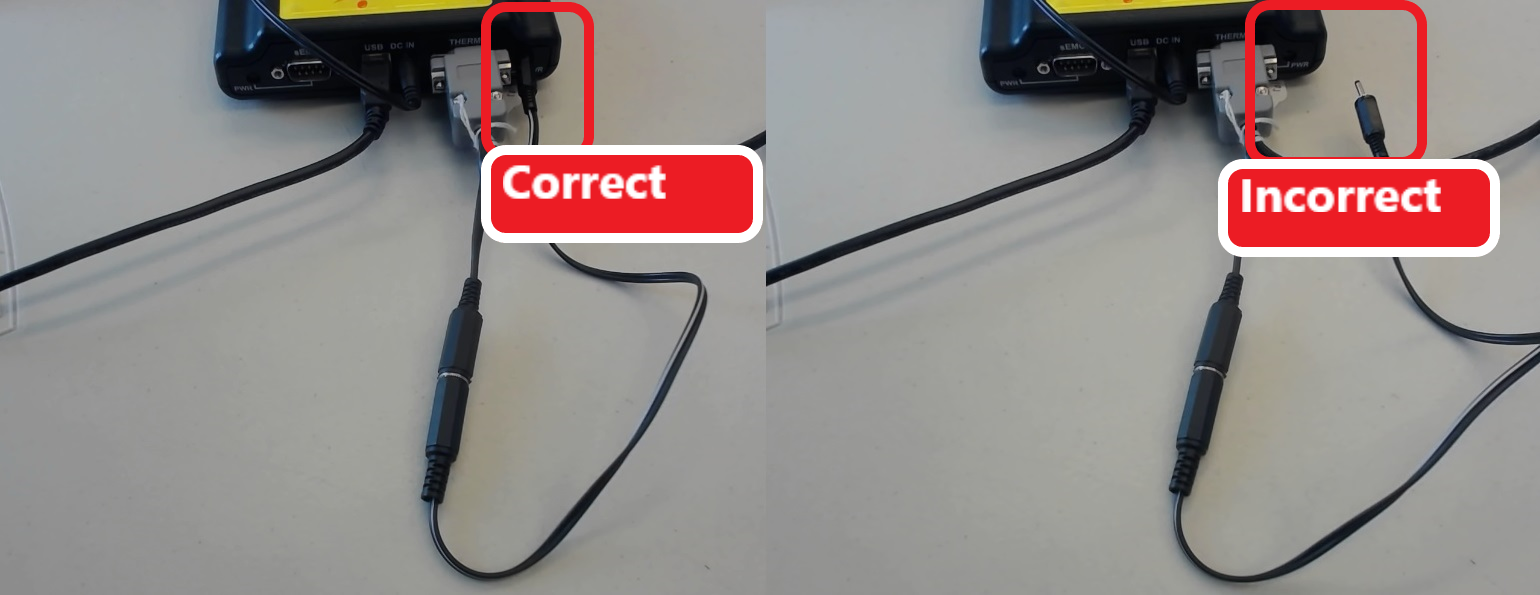
- Check to make sure the Serial Port cable branches out into a "Y" shape. One of the two cables should connect directly to your thermography unit, the other cable can loop back around and plug into the PWR outlet on the back of the VisionPort2.
4. Check for VisionPort Errors
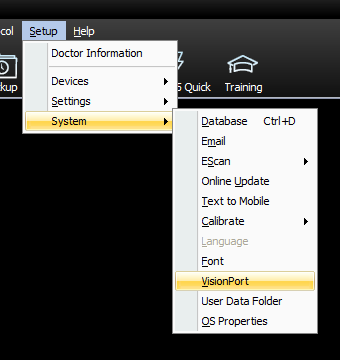
- Go to Setup > System > VisionPort
- Confirm the the message in the bottom section says your VisionPort is connected and that the correct AC adaptor is plugged in


- If the message states that "no VisionPort connected," check the USB cable is connected to both the VisionPort2 and a working USB port on your computer.
- If the USB cable is connected and this error is still occurring, try a different USB port first, then a different USB cable.
- If the message states that the "incorrect or nor AC adapter is connected," check that the AC adapter is plugged into a working power outlet and it is plugged into the DC In at the back of the VisionPort2.
- If you are unsure if you have the correct AC adapter or need to purchase a new AC adapter, check the vendor website HERE
5. Check VisionPort Settings
- In the VisionPort Settings Window (Setup > System > VisionPort) click the Change button under Current Selection

- Follow the prompt to check the number on the serial port of the VisionPort2. Select the appropriate option based on the first number (see next bullet point for visual example), then click OK.

- For the example below, the Serial Number is 40438 so the correct selection is "Begins with the number 4"

6. Perform a Test
- Run a test scan to ensure everything is working properly
**If you are still having issues, please feel free to contact our technical support team at 1-800-969-6961, option 2 (M-F 8am-4pm PST) or by email at support@myovision.com
