If you were sent a new radio to replace the broken one in your SoloVision, follow these steps for the proper procedure.
You will need:
- Philips head screwdriver, or
- Small/Medium flat head screwdriver
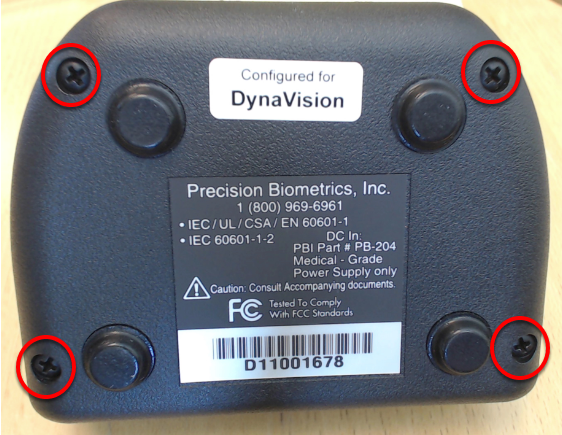
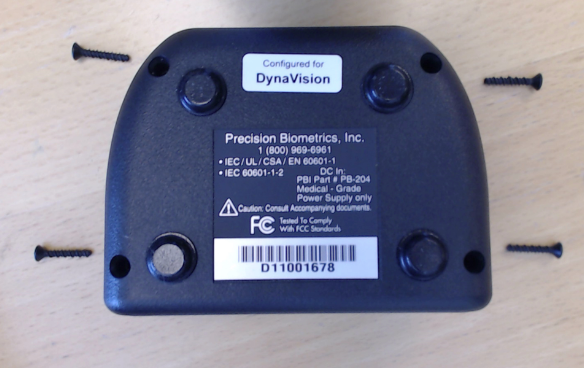
1. Unscrew the 4 screws on the bottom of the SoloVision
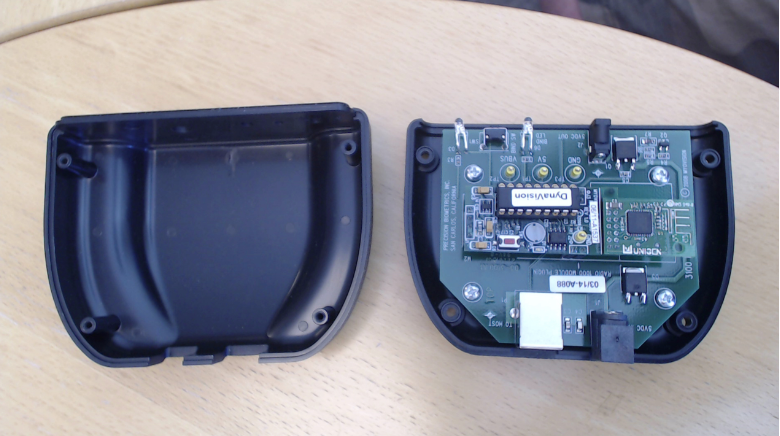
2. Remove the top cover
3. Remove plastic retainer screw
Note: If you don't see this screw, disregard this step and move to step 4.
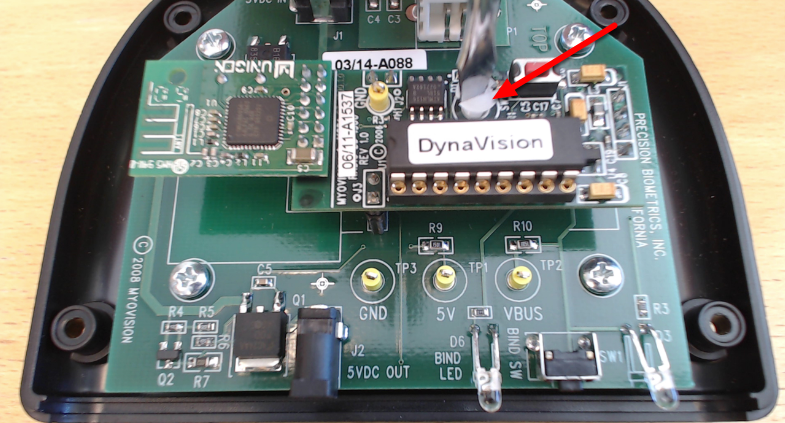
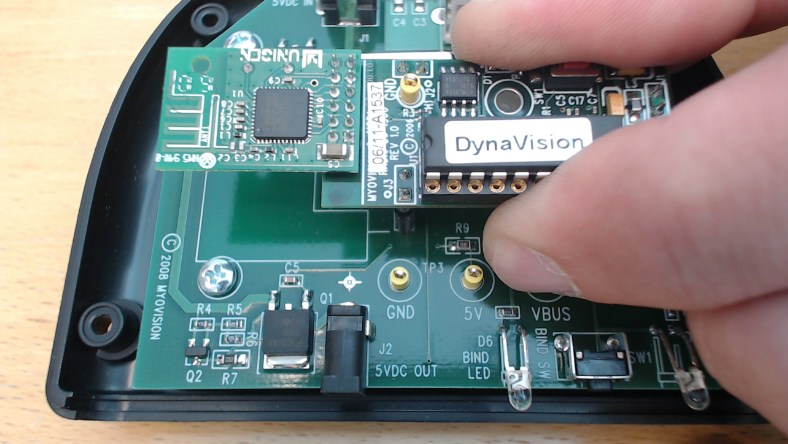
4. Remove radio
Grab both sides of the radio and pull straight up, you may need to wiggle lightly while lifting.
Note: When removing the radio be mindful of the pins on the bottom of the radio as they can bend very easily.
5. Install new radio
Line up the pins and gently press straight down, being mindful of the pins.

6. Install plastic retainer screw
Install the plastic retainer screw if available

7. Replace the bottom 4 screws