In order for the MyoVision software to successfully detect and utilize both a PhysioMonitor and a SoloVision, you will need to remove the correct radio in the PhysioMonitor.
This article will walk you through the correct process and help you identify which radio to remove.
You will need:
- Philips head screwdriver
- Small/medium flat head screwdriver
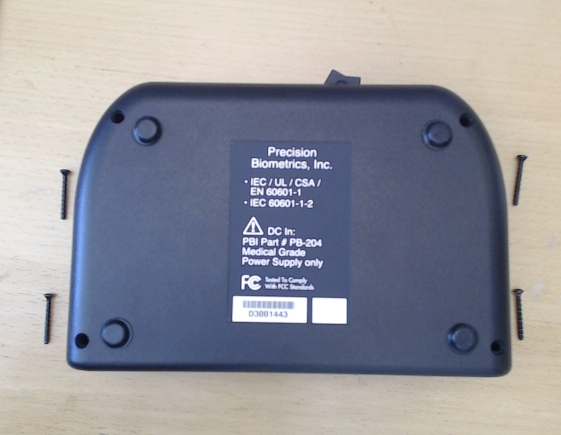
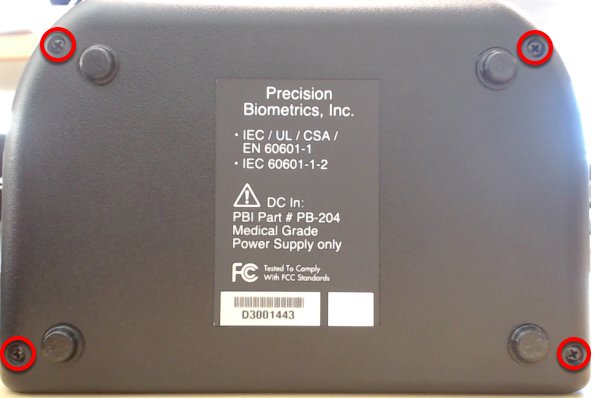
1. Unscrew the 4 screws on the bottom of the PhysioMonitor
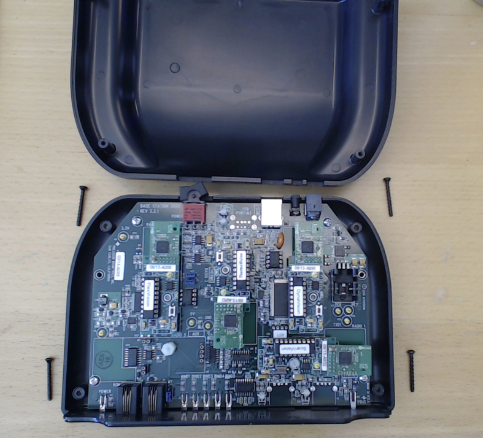
2. Remove the top cover
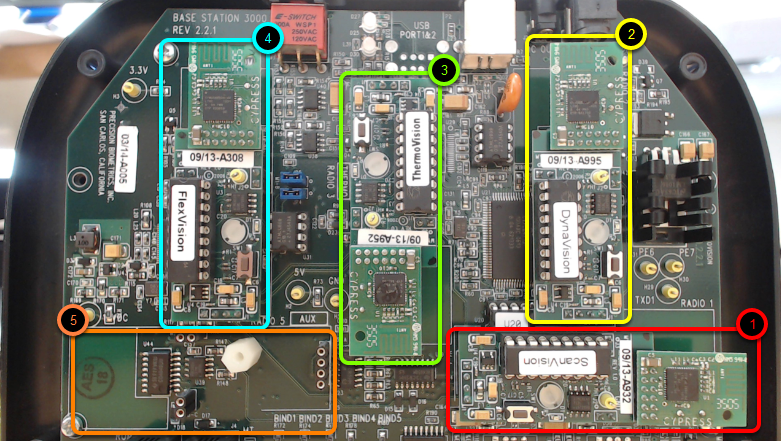
3. PhysioMonitor Layout
Take a moment to identify the layout of the PhysioMonitor board. Each radio has its own spot and will only work when places in its correct spot
(1) ScanVision (2) DynaVision (3) ThermoVision (4) FlexVision (5) Aux
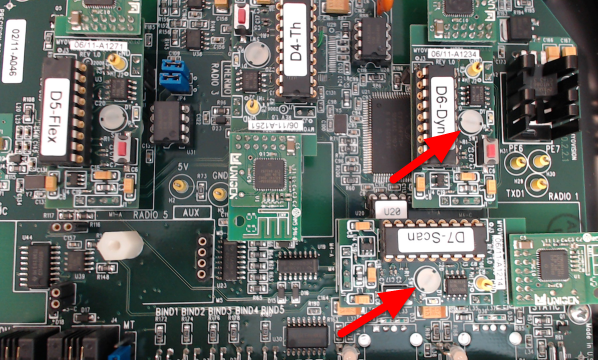
4. Remove the plastic retainer screw
You will want to remove the radio that matches the radio in your SoloVision. There is a sticker on the bottom of the SoloVision that says "Configured for ______." Remove whichever radio that it is configured for
Locate the radio and remove the retainer screw.
Note: If you don't see this screw, disregard and move to step 5.
5. Remove radio
Grab both sides of the radio and pull straight up. You may need to wiggle lightly while lifting.
Note: When removing the radio, be mindful of the pins on the bottom of the radio as they can bend very easily.
Once you remove the radio, you can reinstall the plastic screw.

6. Replace the bottom 4 screws
You're finished! Once you have removed the correct radio, replace the cover and insert the screws
7. Success!
Now that you have removed the radio, you can plug in both your PhysioMonitor and SoloVision and continue to use your system as normal.