The latest feature of the new ScanVision PLUS [+] rechargeable is the user replaceable front post module - allowing the user (you!) to replace the whole front end in seconds, saving you time and money. This feature solves common issues with corroded posts due to poor cleaning & quickscan pad usage, which can cause inaccurate readings. A quick swap every year will have your ScanVision working like new year after year.
TO REPLACE: Make sure the device's power switch is in the "Off" position before replacing the front-end piece.
Follow along with our tutorial video or view the written instructions below:
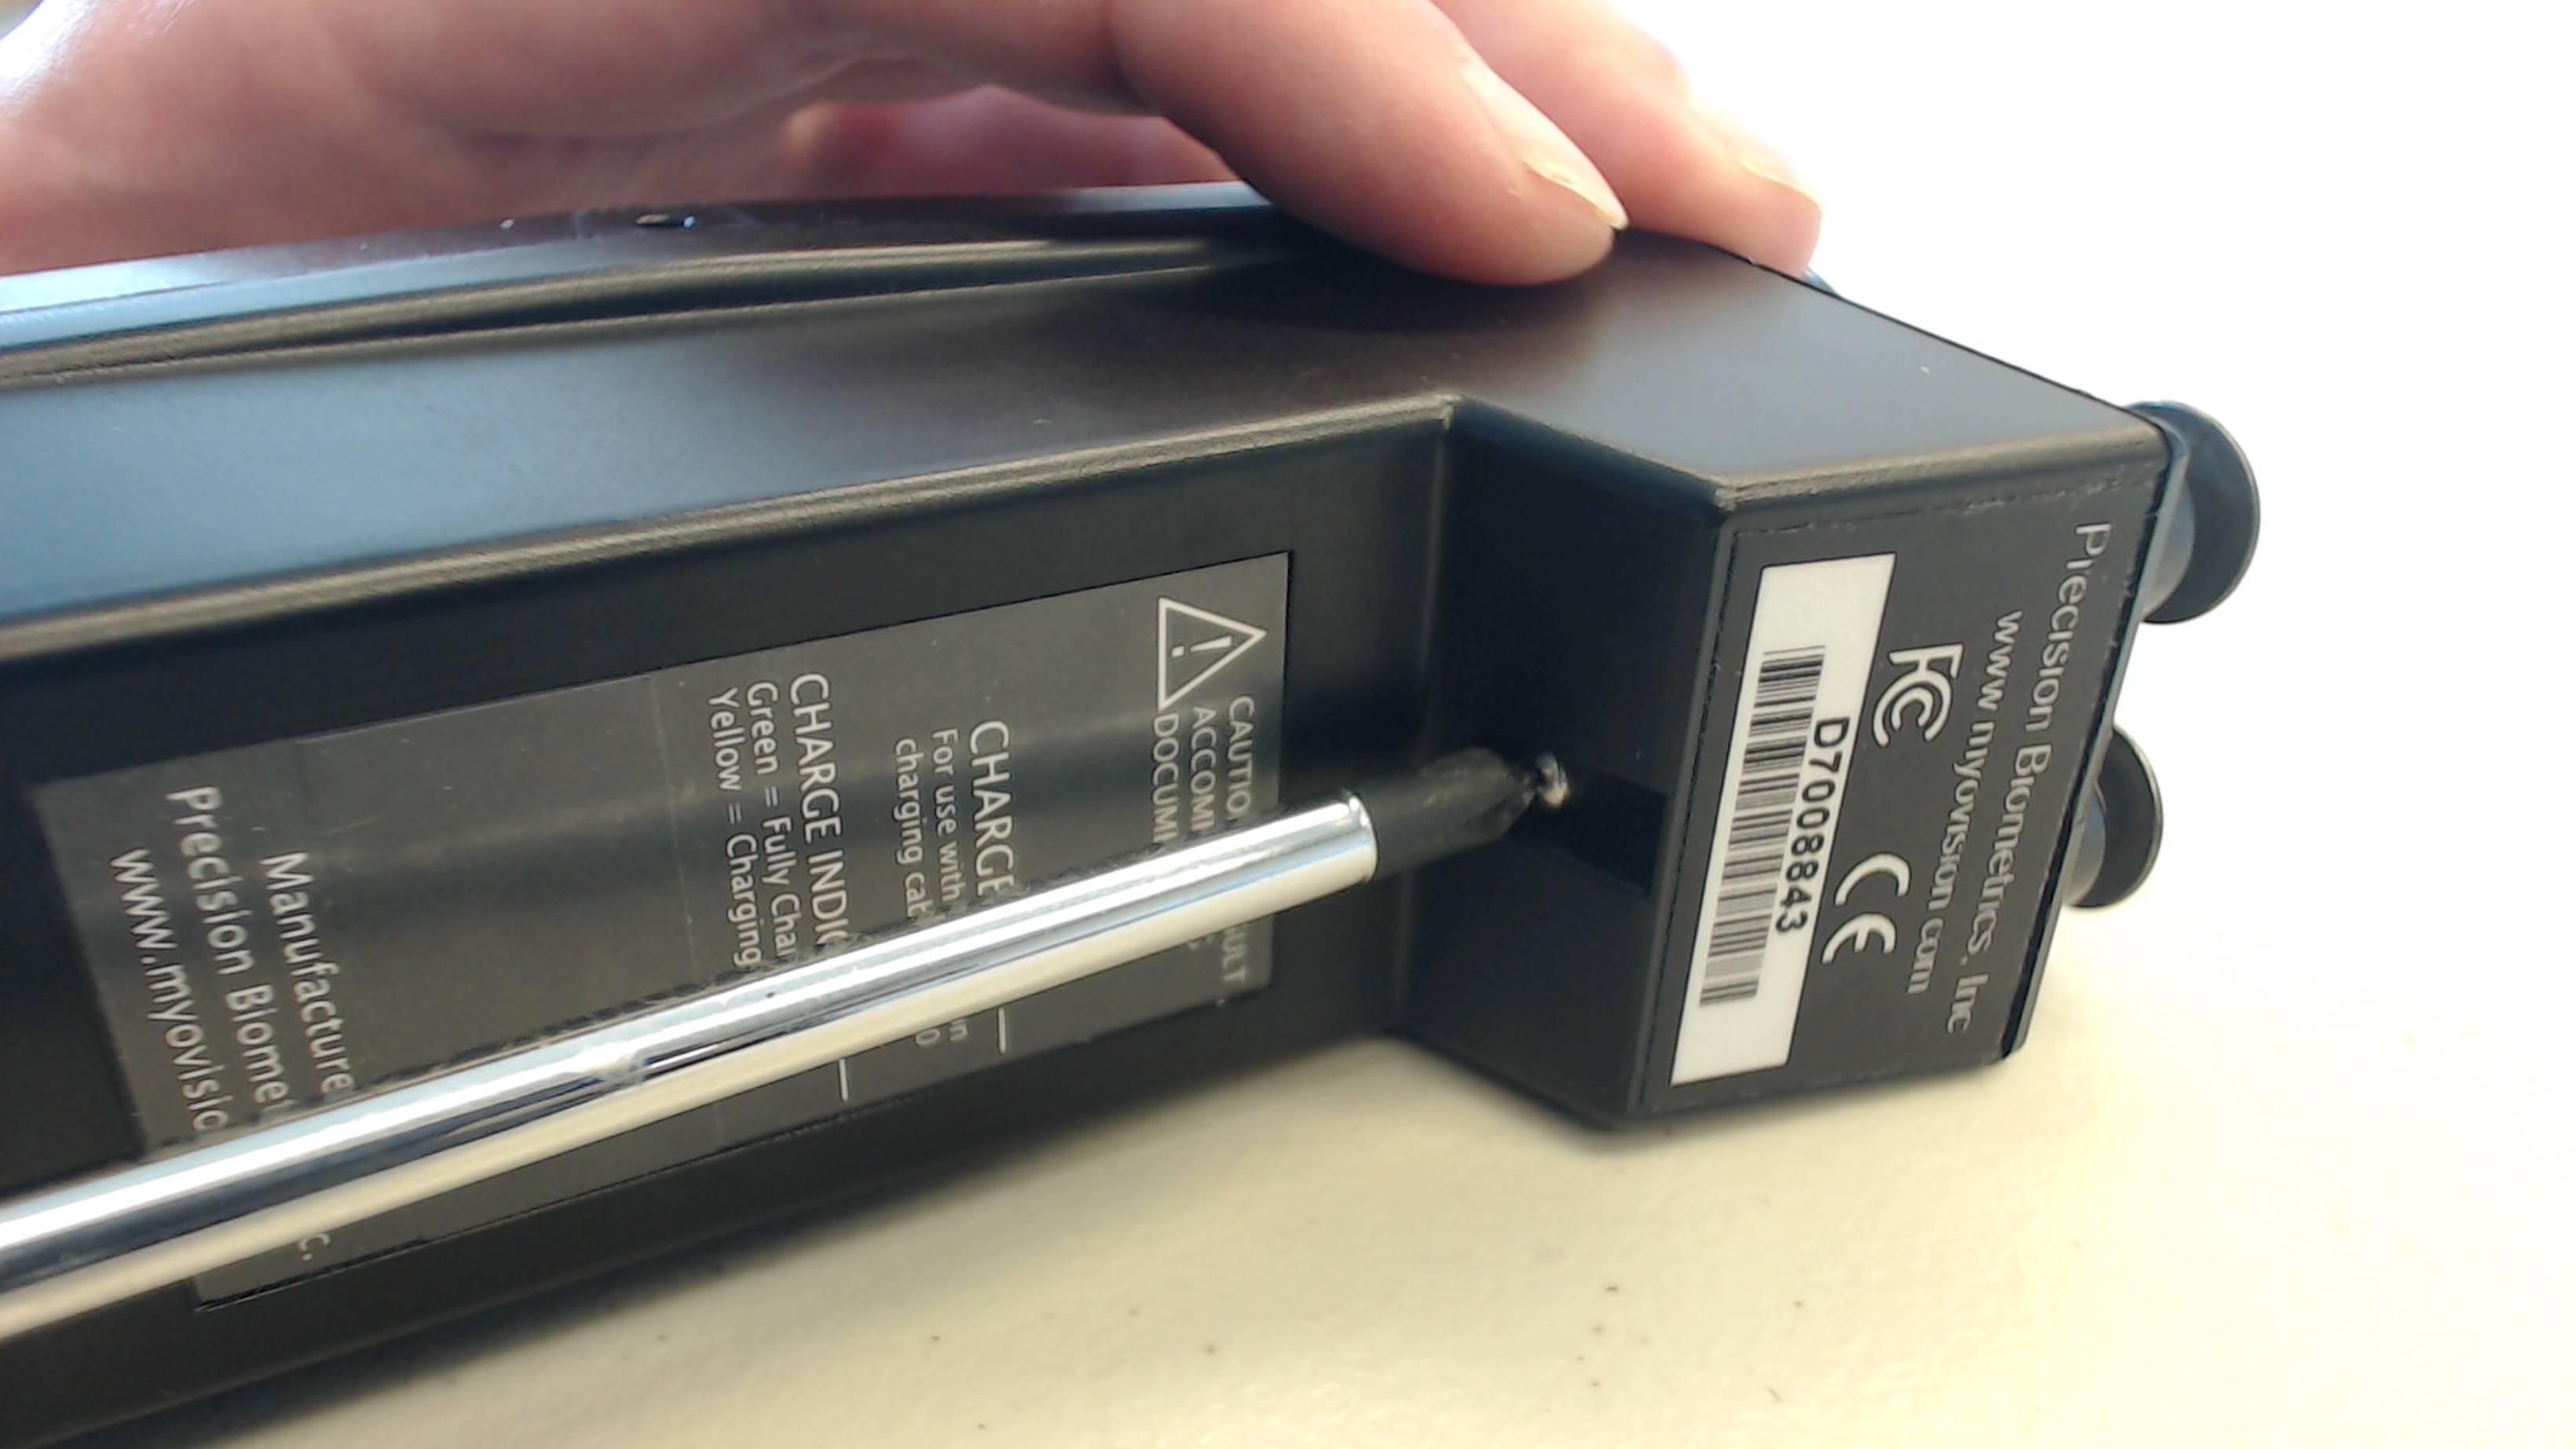
- Power off the device, then locate the the screw that holds the front end piece in place.
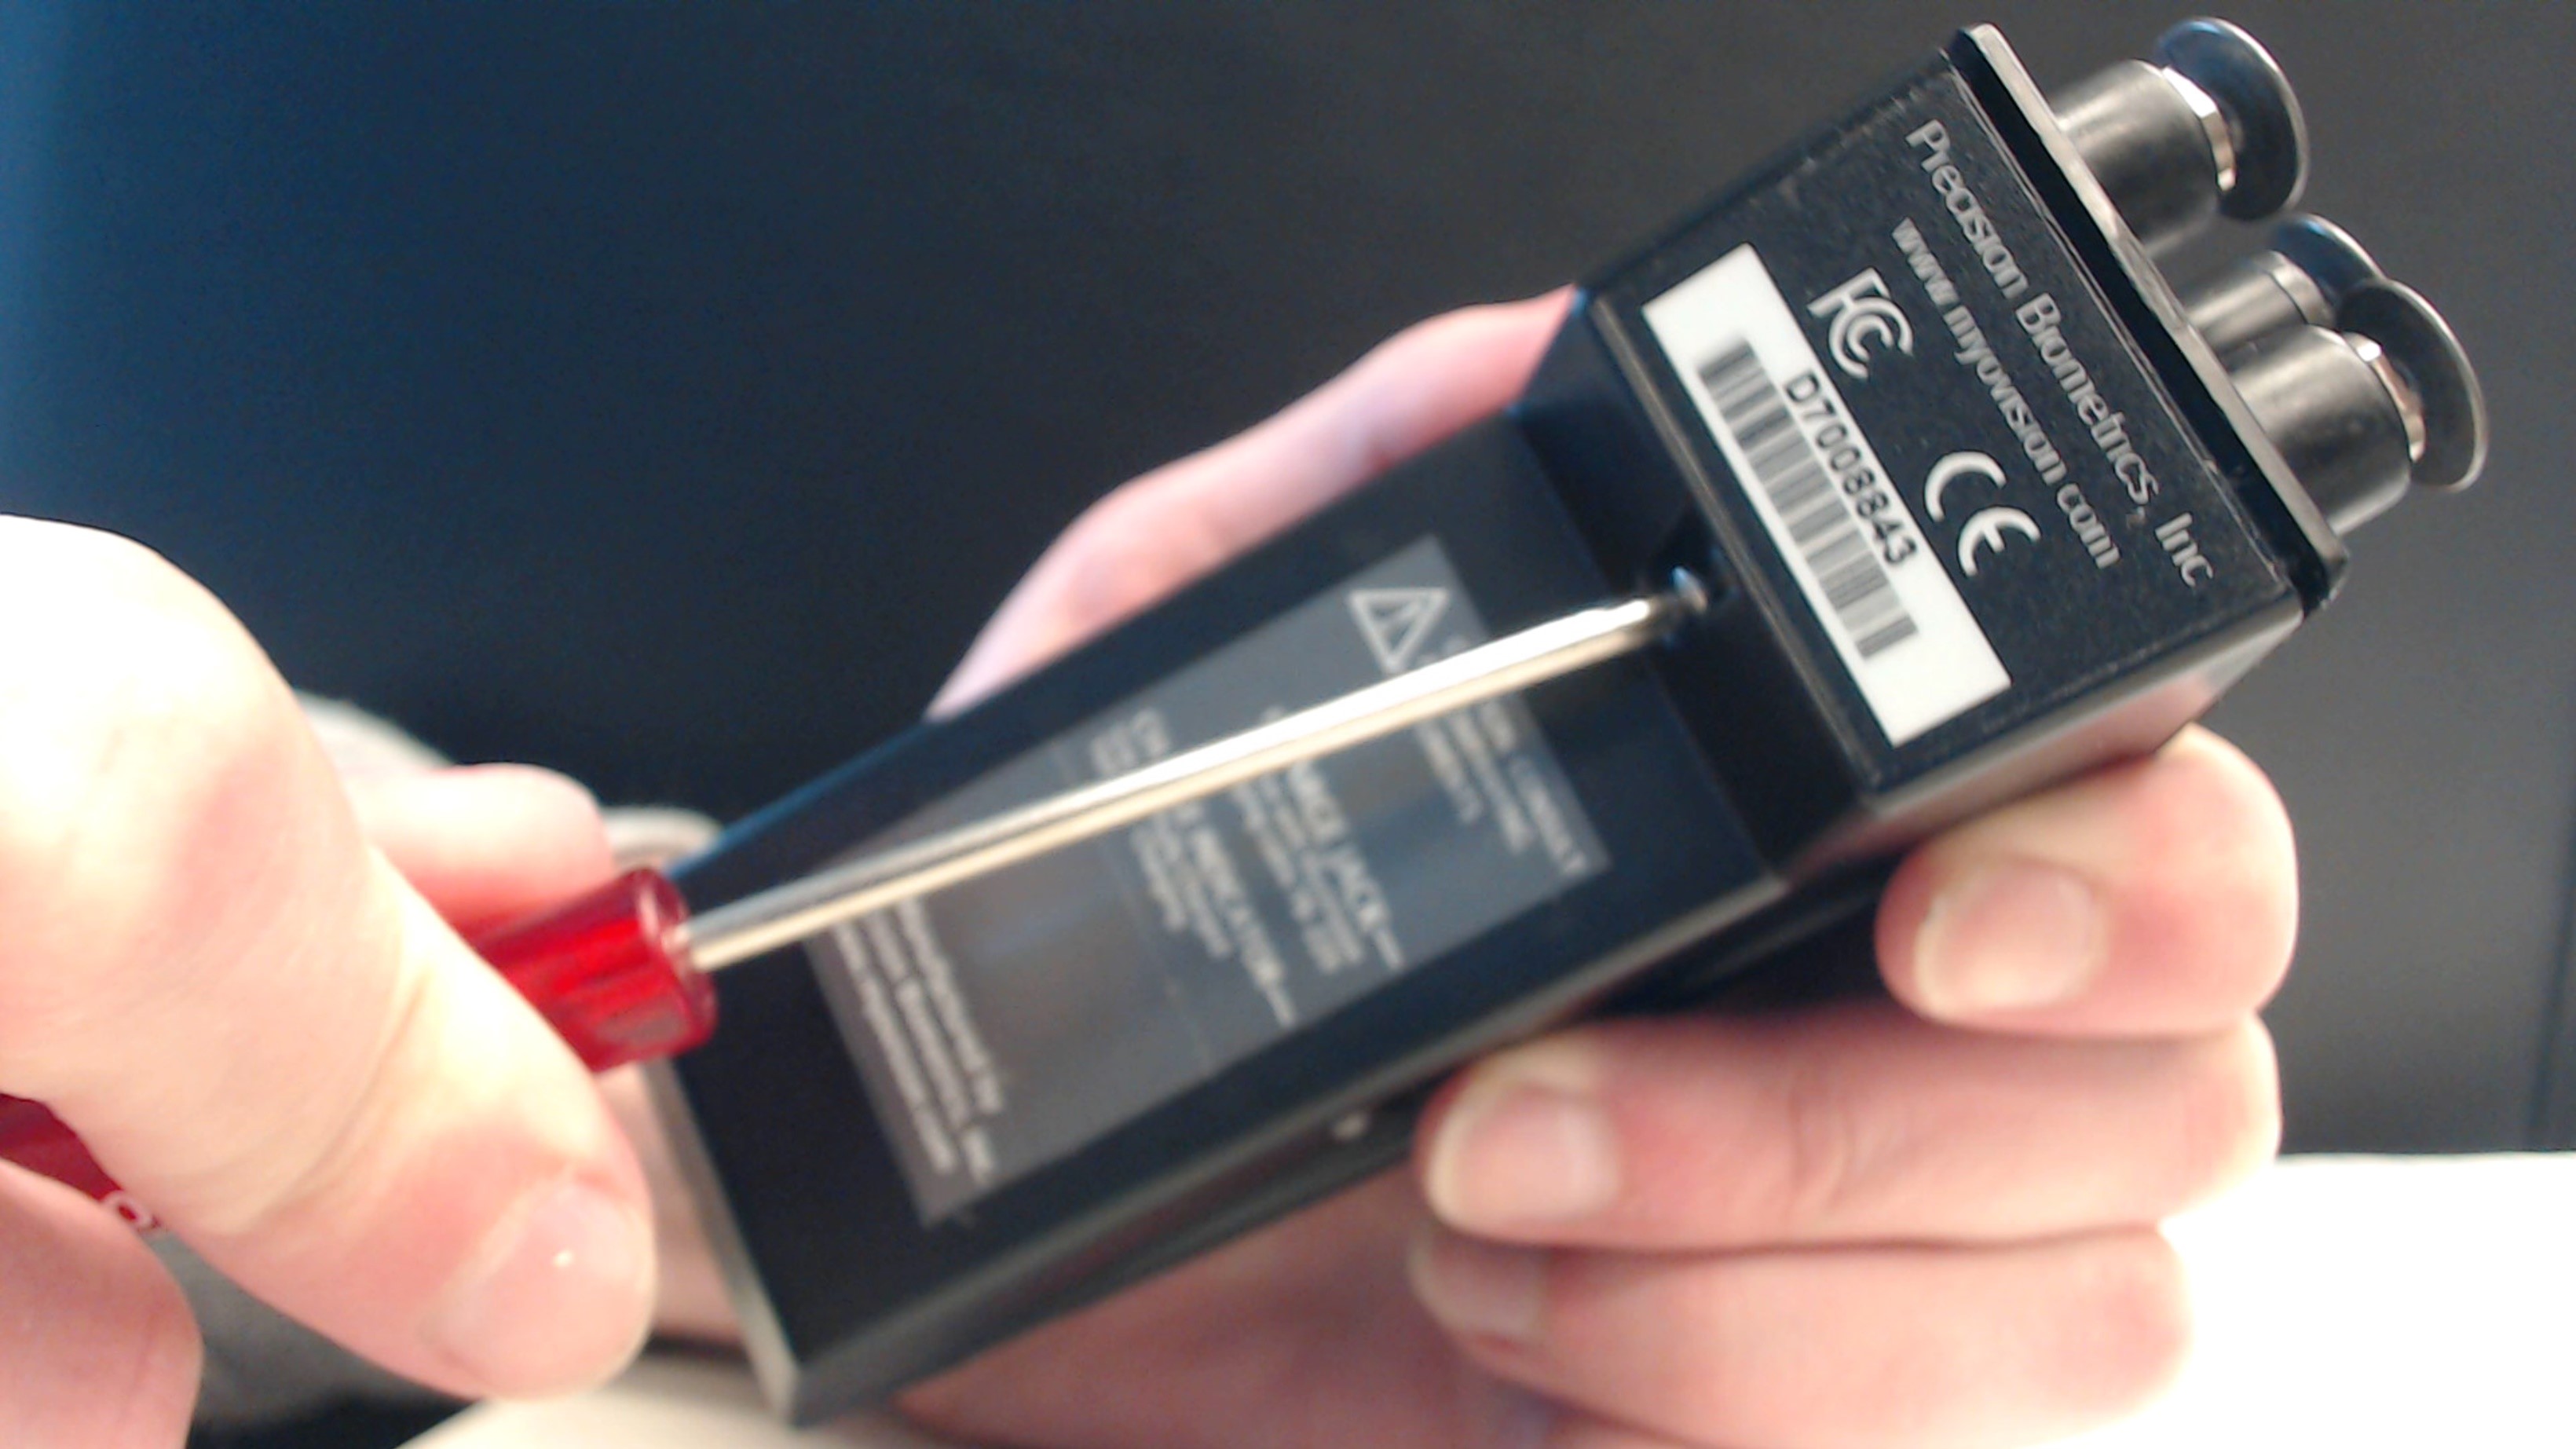
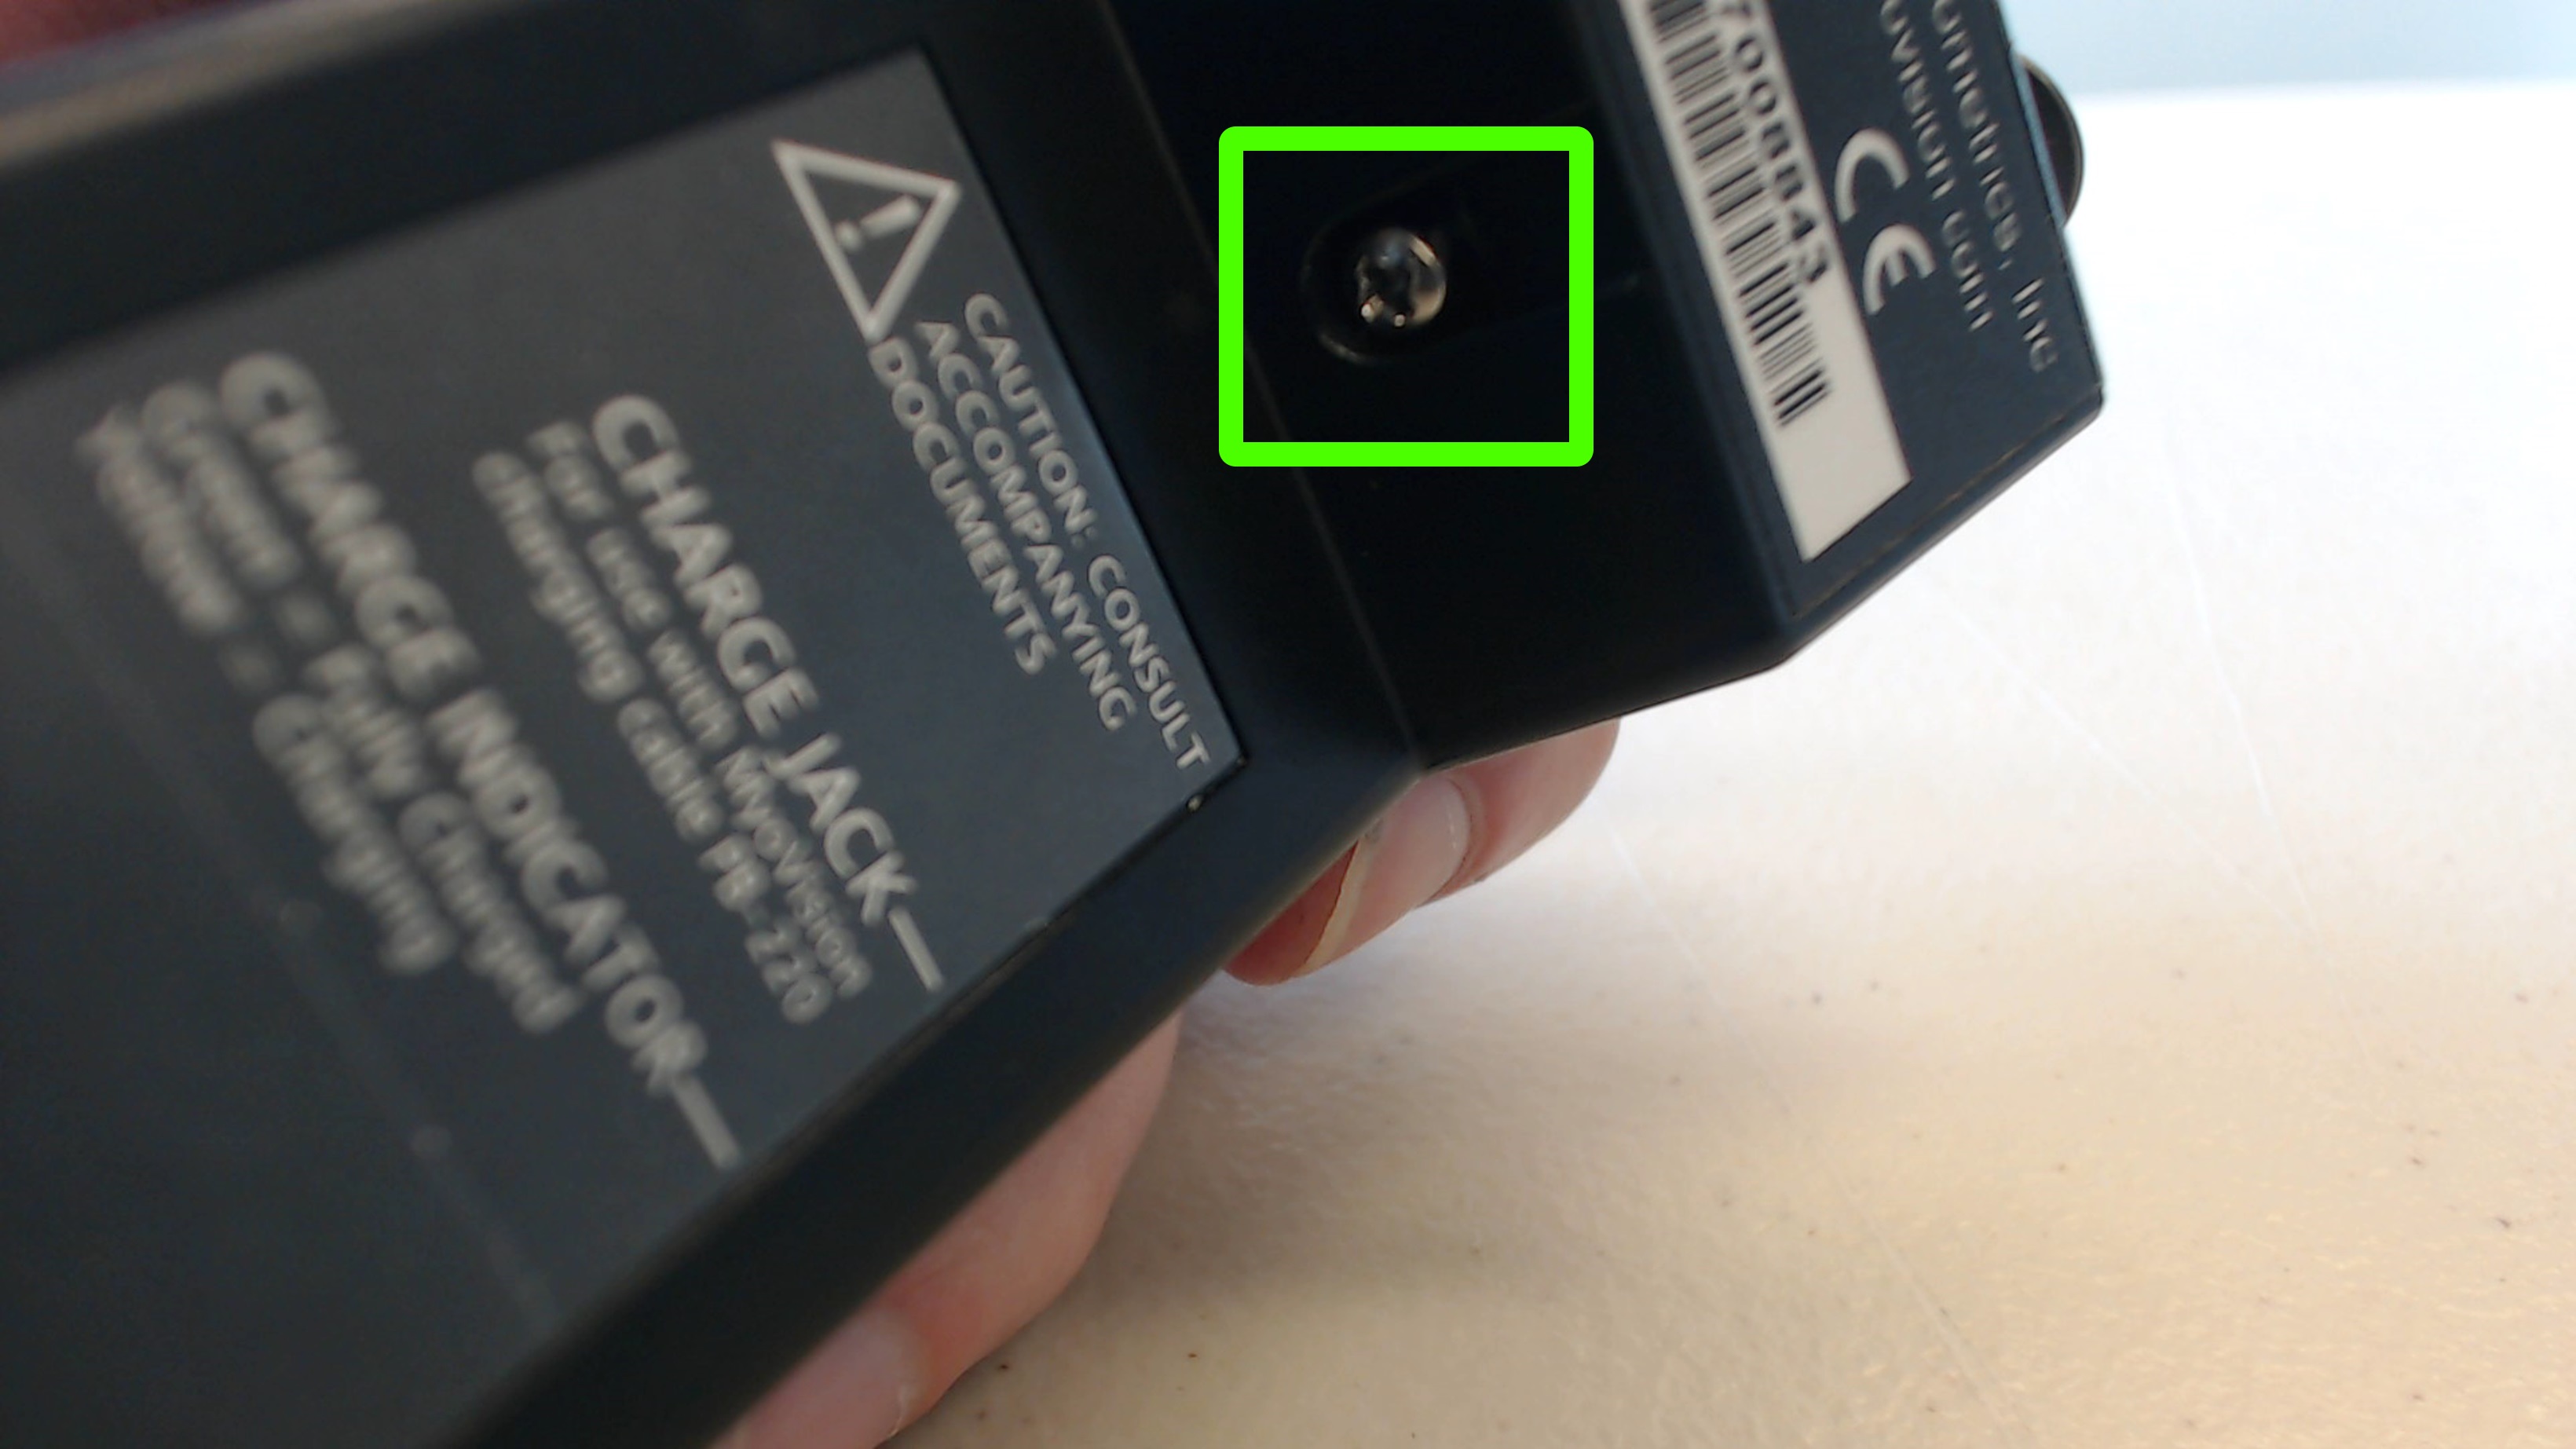
Unscrew it from the device and pull the front end piece off. You may need to give a gently wiggle to loosen. Make sure to keep the screw as you will need it to screw the new front end back to the base piece.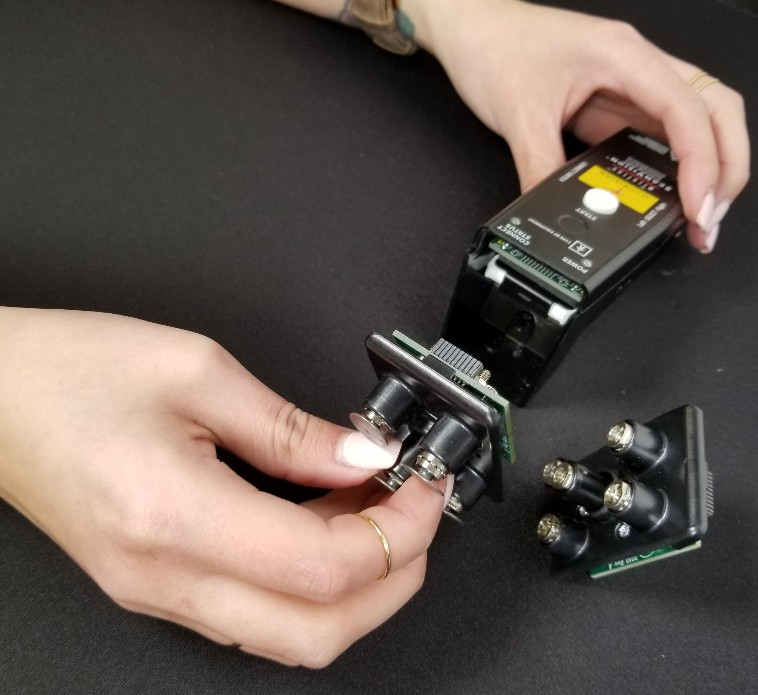
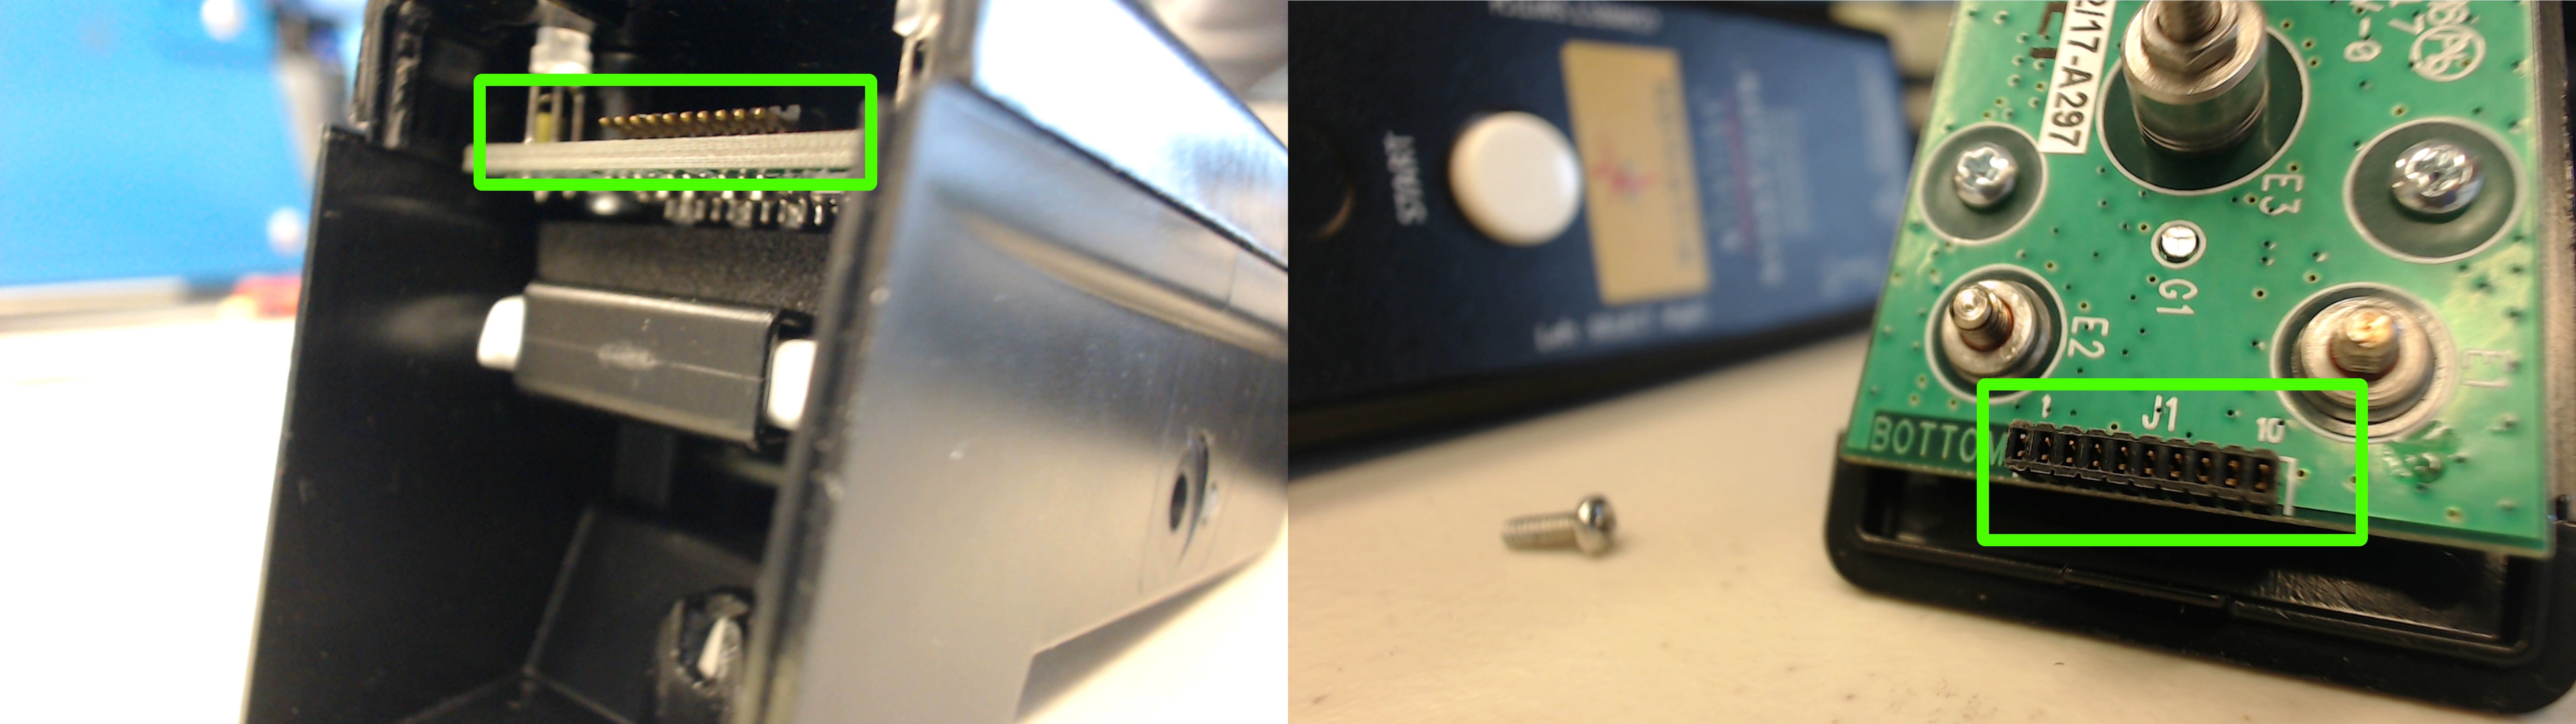
- When placing the new front-end into place, make sure the tabs on the front end and slot for the tabs (highlighted in green in the images below) on the base piece are lined up. Make sure the front end is fully secure in the device.
- Once the pieces are lined up, take the screw you removed in step 2 and use it to screw the new front end to the base piece.
- Perform a test with your static scanner. If the readings come out like in the exam below, remove the new front end and re-attach it, the pins can take a few tries to properly line up inside the device.


