If you were sent a bottom enclosure to replace a broken one, follow these steps on how to properly replace it.
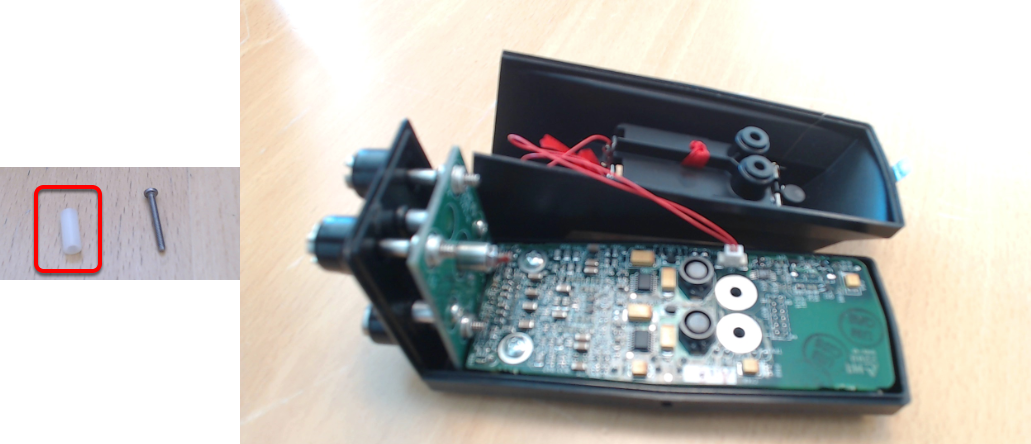
You will need:
- Philips head screwdriver
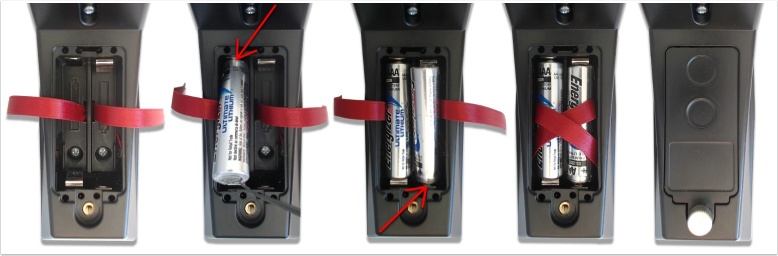
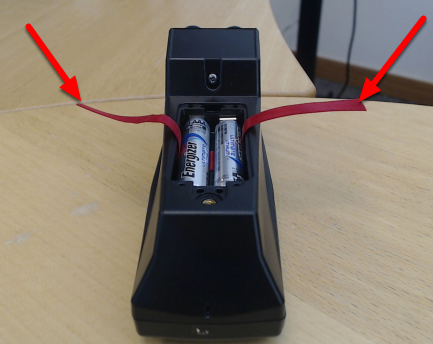
1. Remove batteries
Pull the red ribbons to release the batteries or use a small flathead screwdriver to pop the batteries out.
2. Remove the 2 bottom screws
3. Remove the top screw
Note. There is a small plastic spacer that the top screw slides through internally.
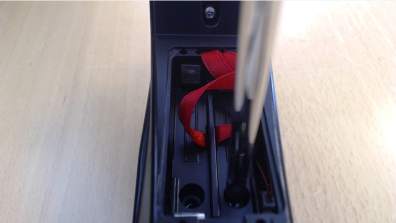
4. Lift the bottom enclosure up and place to the side
Note. When splitting the enclosure apart, the small spacer will fall out, set this aside for now. The bottom enclosure is attached to the circuit board so be careful when splitting apart.
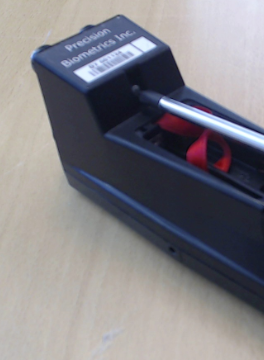
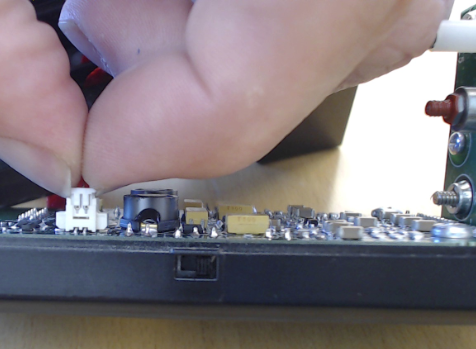
5. Unplug the power connector from the circuit board
Note. Pinch the white connector with your finger nails; you may need to wiggle as you pull up.
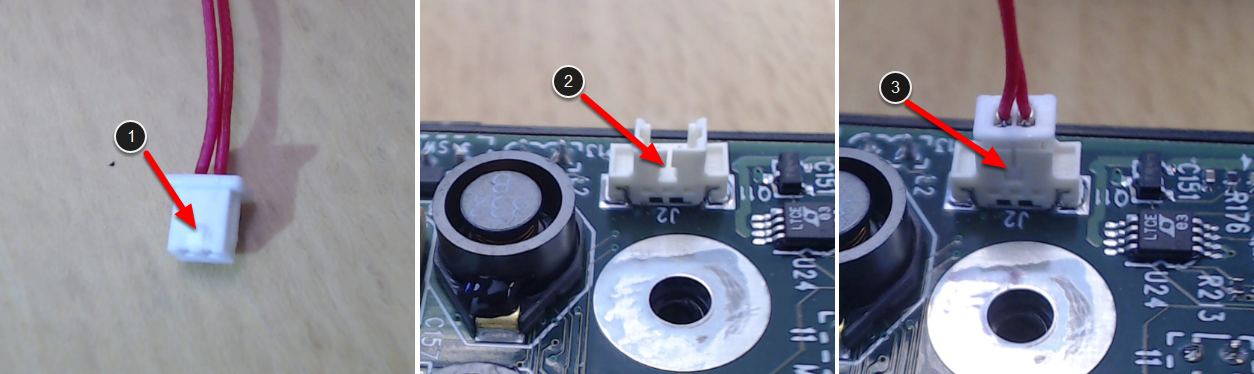
6. Take your new bottom enclosure and plug in the power connector
There is a polarity guide that only allows the connector to go in one way.
- Polarity Guide
- Line up the guide with this notch
- Press down until fully connected.
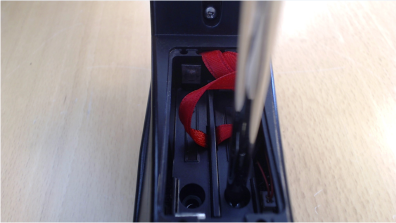
7. Install the Horizontal Screw and Spacer
- Place the screw in and hold it in place with the screwdriver by grasping the enclosure and screwdriver handle
- Tilt up and slide the spacer onto the screw
- Place the bottom enclosure on the top enclosure ad slide up until the screw is in position. Make sure none of the red wires are pinched inb etween the enclosures.
- Tighten the screw
8. Place and tighten the 2 bottom screws
9. Replace batteries and battery cover
When installing batteries, insert the (+)Positive end in first then press the ( - ) Negative down.