Summary
This document shows you how to import patient exam files (.wst) individually or to import all data files in a single folder
Need to Export Files? See our support article How to Export Patient Files
Before you Begin
- IMPORTANT: Backup your Database prior to importing exams. It is possible to overwrite files which will result in loss of data
- IMPORTANT REMINDER: Depending on country, state, or local laws you may be required to get patient consent prior to sharing or sending their data. Please abide by these laws.
- IMPORTANT: Make sure both computers have the latest version of the MyoVision software. Download here: https://www.myovision.com/download.html
- Have the files or folder accessible on the computer
- Open MyoVision
How to Import Patient Exam Files
Import Specific and/or Individual Exam Files
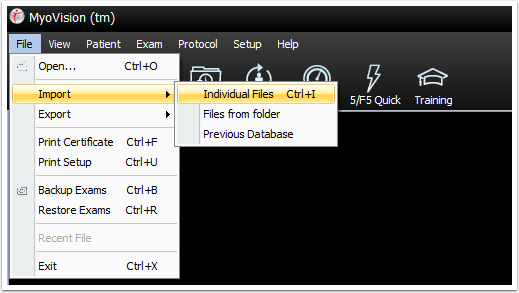
1. Choose the option Import Individual Files
- Click on the drop-down menu "File"
- Choose "Import" then "Individual Files"
- You can also press the control and I keys on your keyboard at the same time
- You can also press the control and I keys on your keyboard at the same time

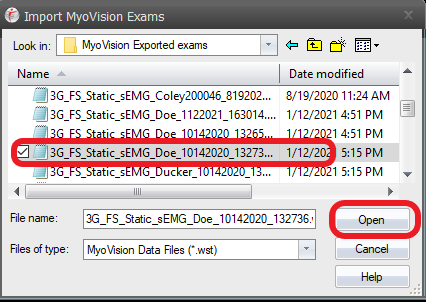
2. Navigate to the folder that contains the exams
- Click on the arrow for the drop-down box and choose the location the exams are saved in
- This can be a folder or a folder on a USB drive, depending on where the exams are saved

- This can be a folder or a folder on a USB drive, depending on where the exams are saved

3. Choose the exam to import
- Click the exam to import then click Open

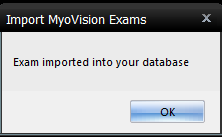
4. Confirm Import
- The software will confirm when the import is complete

Import All Files in a Folder
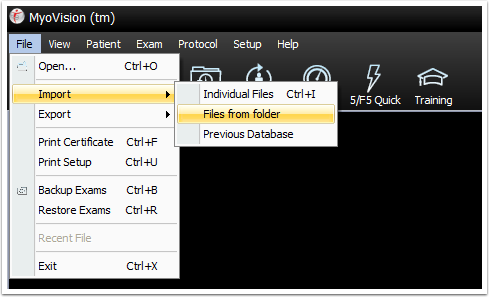
1. Choose the option Import Files from Folder
- Click on the drop-down menu "File"
- Choose "Import" then "Files from Folder"

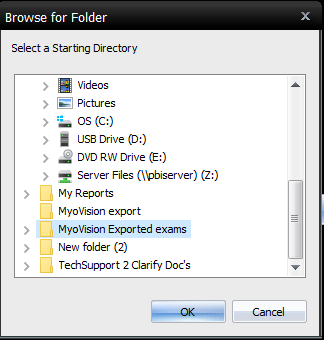
2. Navigate to the Folder
- Click on the folder that contains the files you want to import then click "OK"
- NOTE: If an exam is already found in the database it will not import and will show during the confirmation

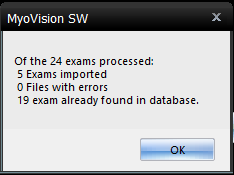
3. Confirm import
- The software will show how many exams were Imported from the chosen folder, if there are any errors, and if any exams are already in the database.