1. Exporting Patient Files and Records
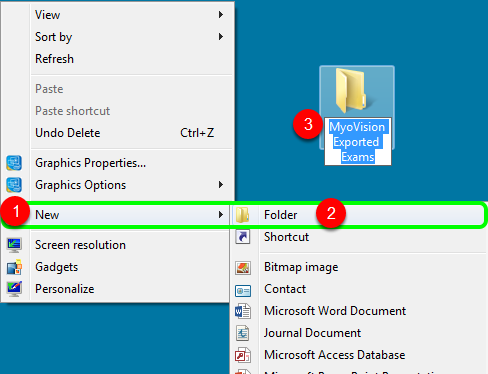
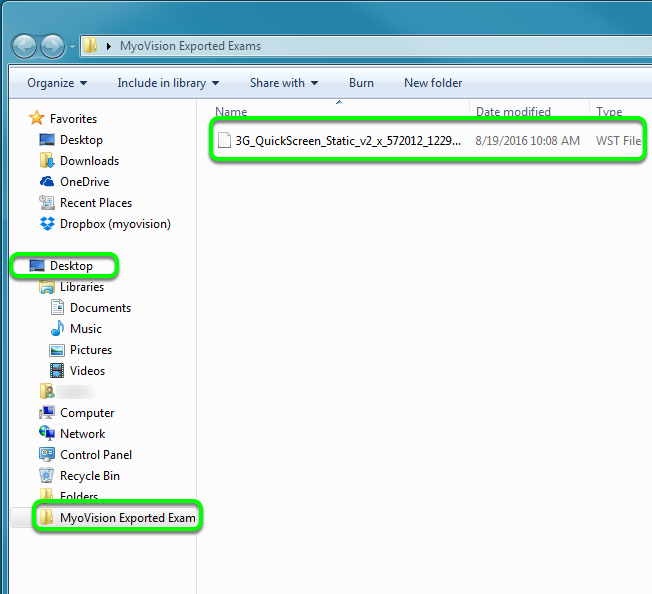
Create a new folder in an easily accessible location on your computer to export your files to. We suggest making a folder on the Desktop and naming it MyoVision Exported Exams. You might already have a folder called My Reports, that you can use.
Right-click on the desktop, hover over New and select Folder and name it MyoVision Exported Exams
1.1 Open MyoVision
Open the MyoVision software and open the File menu by clicking on it, hover over Export, and select Data File (note that you can use the CTRL+E shortcut to access the export menu).

1.2 Selecting single patient records
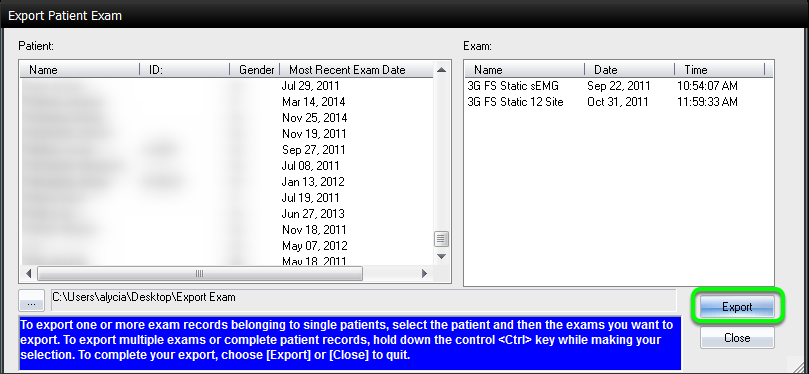
After selecting Export>Data File your patient database will open, allowing you to select a patient and export all of their records, or exporting a specific exam from the patient's records. If you are only exporting a single patient or exam, simply select the exam or patient you wish to export and then click on the Export button.
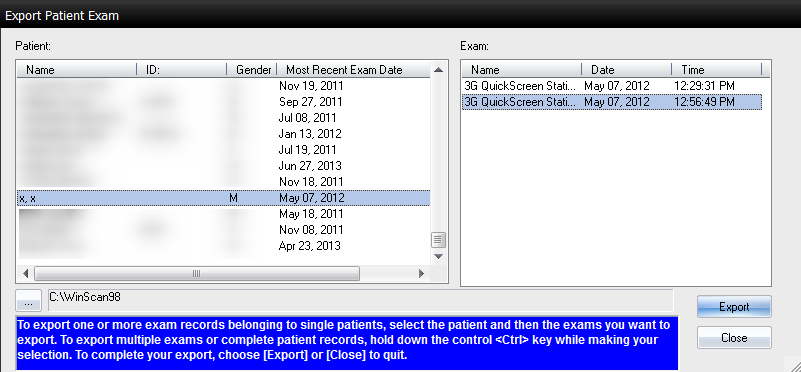
1.3 Selecting Multiple Patient Records
You can select multiple patients from the Export Patient Exam screen by
- holding down the Ctrl key and selecting each patient individually or
- holding down the Shift key and selecting the the first and last patient in a range.
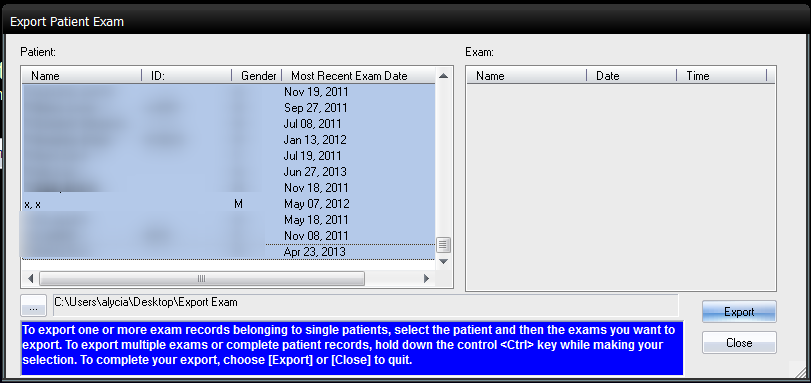
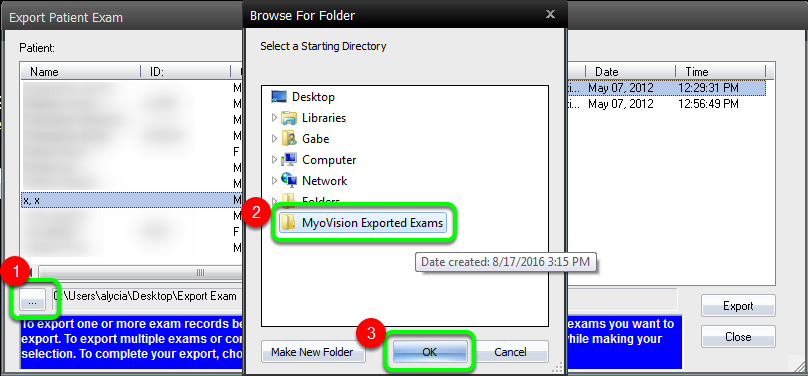
1.4 Export Location
At the bottom of the Export Patient Exam screen you can change the default directory to which your exported records will be saved.
Click on the "..." button next to the folder path and select the MyoVision Exported Exams folder we created on the Desktop
1.5 Exporting Patient/Exam Records
After clicking “OK” you will be taken back to the Export Patient Exam screen where you will click the Export button to begin exporting your records.
1.6 Export Complete
Once the export process has completed you will be given a prompt showing the export process information. The number will tell you how many exams you exported.

1.7 Verify
You will want to verify the epxort by navigating to the destination folder and verifying the records are showing.
2. Email
- Open your email
- Start new email
- Click on the attach icon. Most email providers use a paperclip
- Navigate to the file you want to attach and click OK
Your test file is now attached and ready to be sent!
