Summary
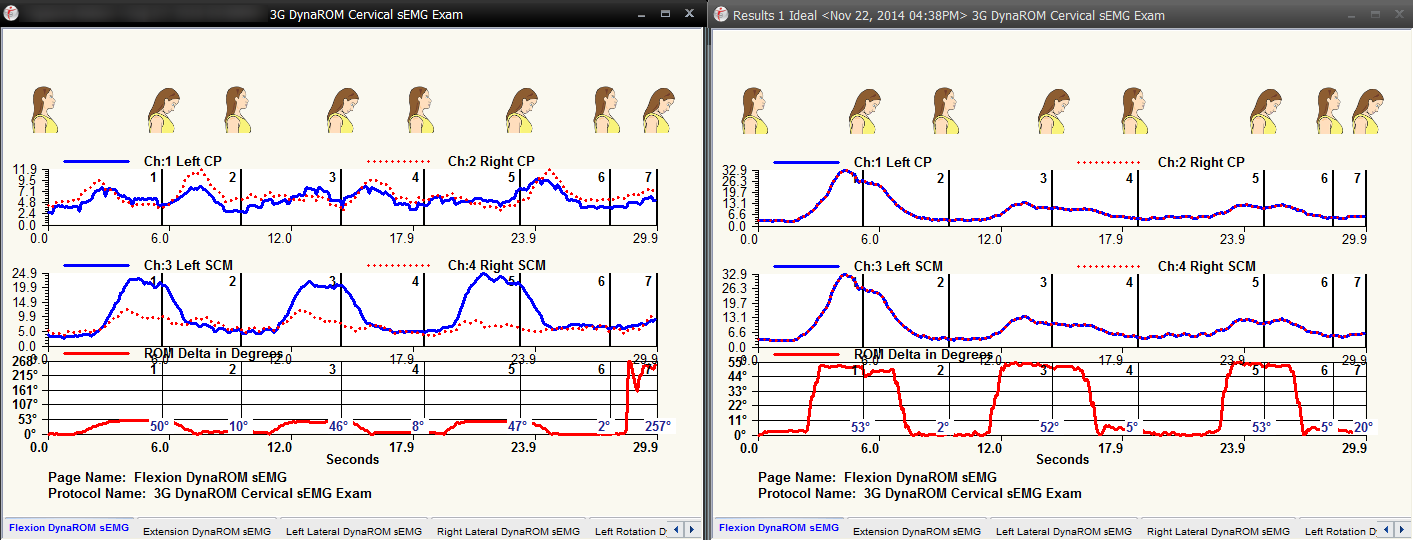
This article will walk you through the steps necessary to open the ideal results tests and compare them to your patient's test.
Before You Begin
Before you begin, make sure you have turned on the setting that allows you to View Exams Side-By-Side
1. Import Ideal Results
If you do not have "1 Ideal, Results" as a patient in your Database already you will need to import them.
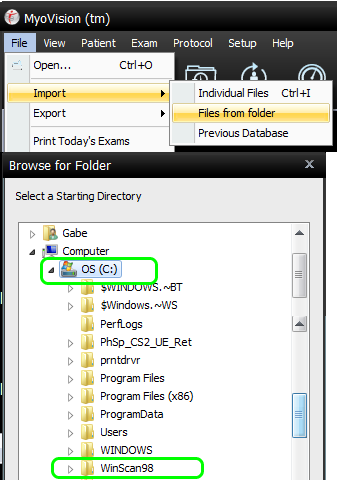
- Click on File > Import > Files from folder
- Select the WinScan98 folder. This is by default stored on the C: Drive
- Click OK
2. Exams Processed
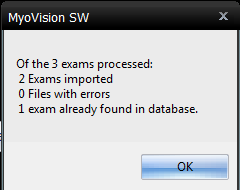
You will get a prompt informing you of the results of the import
3. Open Ideal Results
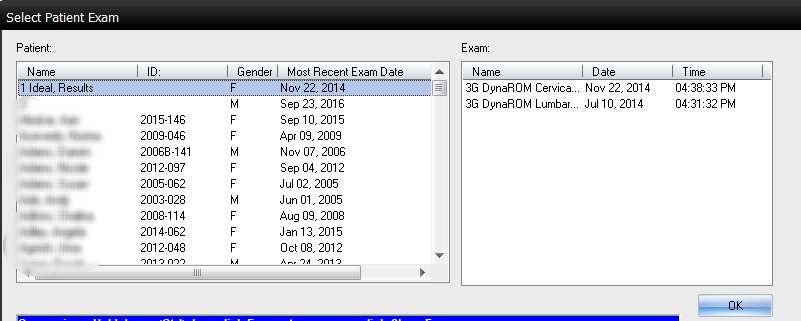
With your patient's test open, you can now open the Ideal results side-by-side.
Click Open and then go to "1 Ideal, Results" under patient and select the appropriate test
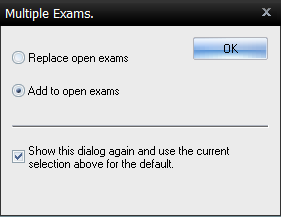
4. Add to open exams
Select "Add to open exams" and click OK
If you did get this prompt, please see our article on how to View Exams Side-by-Side
5. Side-By-Side
Your patient's exam is now side-by-side with the ideal results and you can easily compare them.
If you cannot see the whole graph, resize the exam window by click and dragging the top border of the exam window down.
