Summary
This document will instruct you on how to upgrade to SQL Server 2017
Before you Begin
- Make sure the Windows account you are logged into has Administrator privileges
- Check Administrator Privileges if you are unsure.
- IMPORTANT: Make sure Windows OS is fully updated before installing MyoVision.
- To check if you are fully updated, go to the Microsoft support article here: https://support.microsoft.com/en-us/help/4027667/windows-10-update
- IMPORTANT: Backup your database prior to upgrading SQL Server.
- Not sure how? See our support article Backup and Restore a Patient Database
- If you don't have SQL installed already, please refer to our support article Install SQL Server 2017
How to Upgrade Your SQL Server
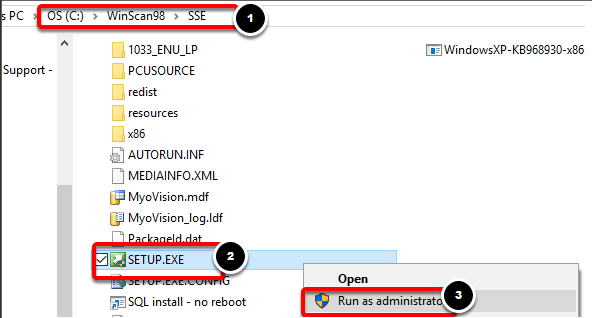
1. Run SQL Server Setup File
- Navigate to C:\WinScan98\SSE (do not use SSE2014). Right-click on "SETUP.EXE" and select "Run as administrator"
- If you do not have the SSE Folder then you will need to update your software first
- Not sure how? See our support article Updating Your MyoVision Software
- Not sure how? See our support article Updating Your MyoVision Software
- If you do not have the SSE Folder then you will need to update your software first

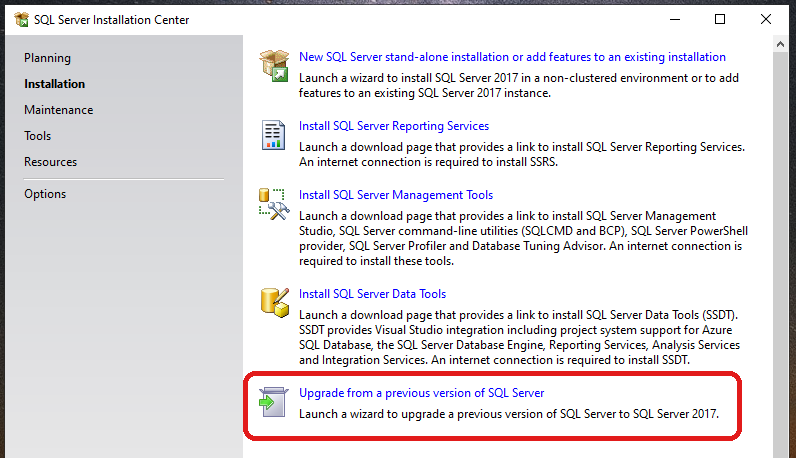
2. Select Installation Type
- Once the Installer opens, select the "Upgrade from..." option
- IMPORTANT NOTE: Make sure you are updating to SQL 2017 and not SQL 2008. If the installer window says SQL 2008 then rename the SSE folder to SSE2008 and then download and run the MyoVision installer to install the proper SQL Setup files.

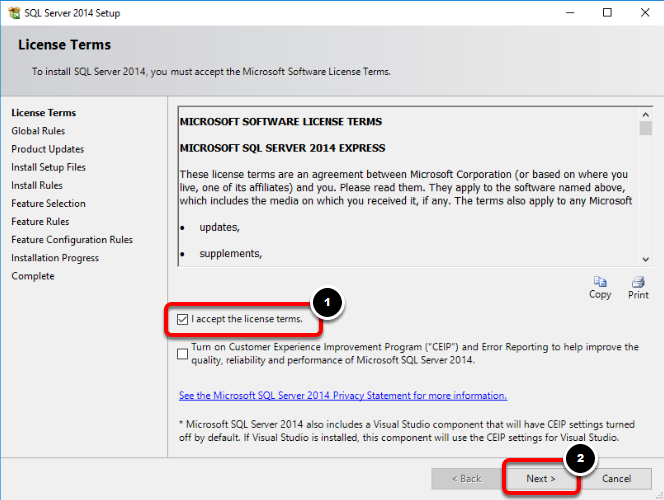
3. License Terms
- Click to accept the license terms, then click "Next"

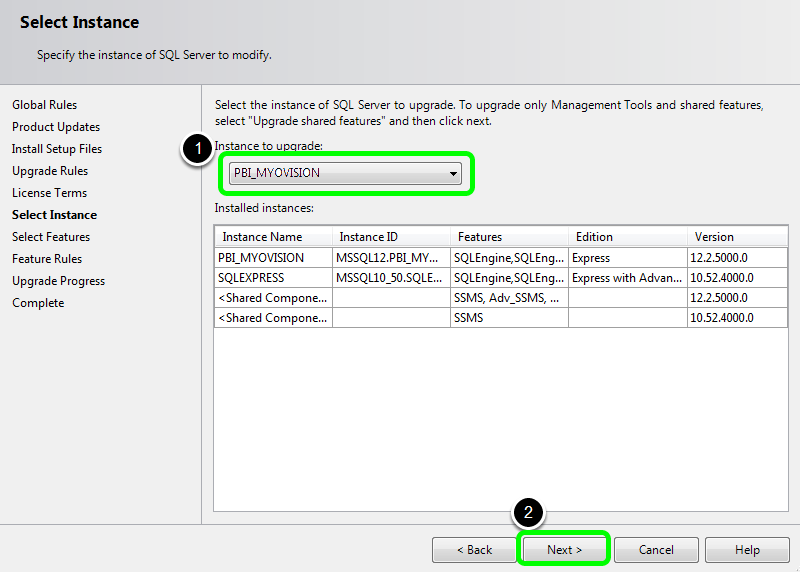
4. Select Instance
- When you reach the screen below, choose the instance of SQL Server you want to upgrade
- Note: If PBI_MYOVISION is not an option, please contact MyoVision's technical support at 1-800-969-6961, option 2 (M-F, 8am-4pm Pacific Time) or at support@myovision.com

5. Complete
- The SQL Server Installation Center will perform the upgrade. When you reach the complete screen you can click "Close" to finish the upgrade.
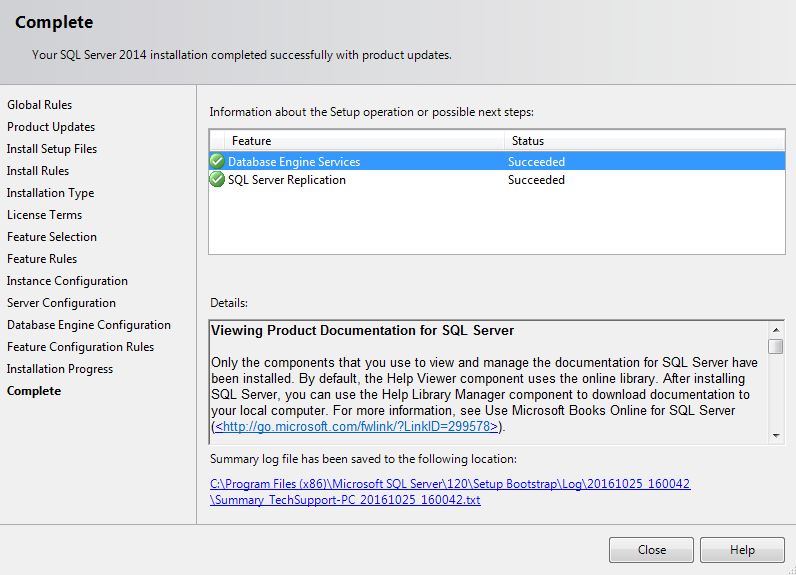

Note: If your upgrade is unsuccessful, contact technical support at either support@myovision.com or call 1-800-969-6961,option 2 (M-F, 8am-4pm Pacific Time)