This article will walk you through setting up your FlexVision Ultra System once you have already downloaded and installed the latest MyoVision software from our website
1. Device Check
You will receive your system with:
- 2 x FlexVisions (One will be marked with a yellow dot, that is the "Main" device)
- 1 x SoloVision
- 1 x USB 2.0 Cable
- 2 x MyoVision Charging Cable

2. Connecting SoloVision
Using the USB 2.0 Cable connect the SoloVision to the computer.

2.1 USB 2.0
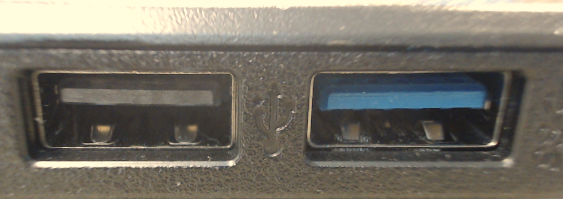
If the drivers fail to install correctly, or the SoloVision is not properly detected, then it is likely that the SoloVision is connected to a USB 3.0 port. It is recommended that you only use USB 2.0 ports with the SoloVision. The quick way to tell the difference between USB 2.0 and USB 3.0 is the port color. Generally, all USB 3.0 ports are colored blue. While all USB 2.0 and 1.0 ports are black, white, or silver.

2.2 Wireless System Connected
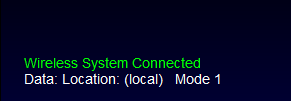
If you have a successful connection you will see "Wireless System Connected" in the bottom left of the MyoVision software

3. FlexVision Inclinometers
To turn on your FlexVision inclinometers, simply switch the Power switch to the On position, then press one of the red buttons.
Once you push the red buttons, the lights should all light up Green. Including the Power and Connect Status lights on top of the device

3.1 Binding
If the connect Status light is blinking red, your device may need to be bound to the SoloVision
Please read our article on Binding your ScanVision or FlexVision to SoloVision
3.2 Charging
If the Power light is red or yellow, your FlexVision needs to be charged.
Connect your FlexVision to a USB port using the MyoVision charging cables provided. The FlexVision charging jack is located on the lower left side of the device.

4. Ready to Go!
Once your SoloVision is connected to the computer, and your FlexVision inclinometers are connected to your SoloVision, you are ready to perform your range of motion tests!
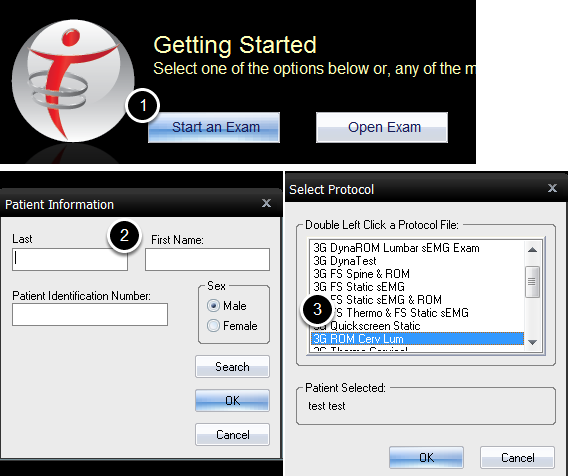
- Click on Start an Exam
- Input Patient Information
- Select 3G ROM Cerv Lum test
